

Starting your first scrapbook is exciting, but you need far less than the craft aisles suggest. To make a great first page, all you need is an album with page protectors, a few photos, cardstock, one coordinating paper pad, a tape runner, scissors, a pen and some stickers. That covers every step, so fancy machines and big kits can wait.
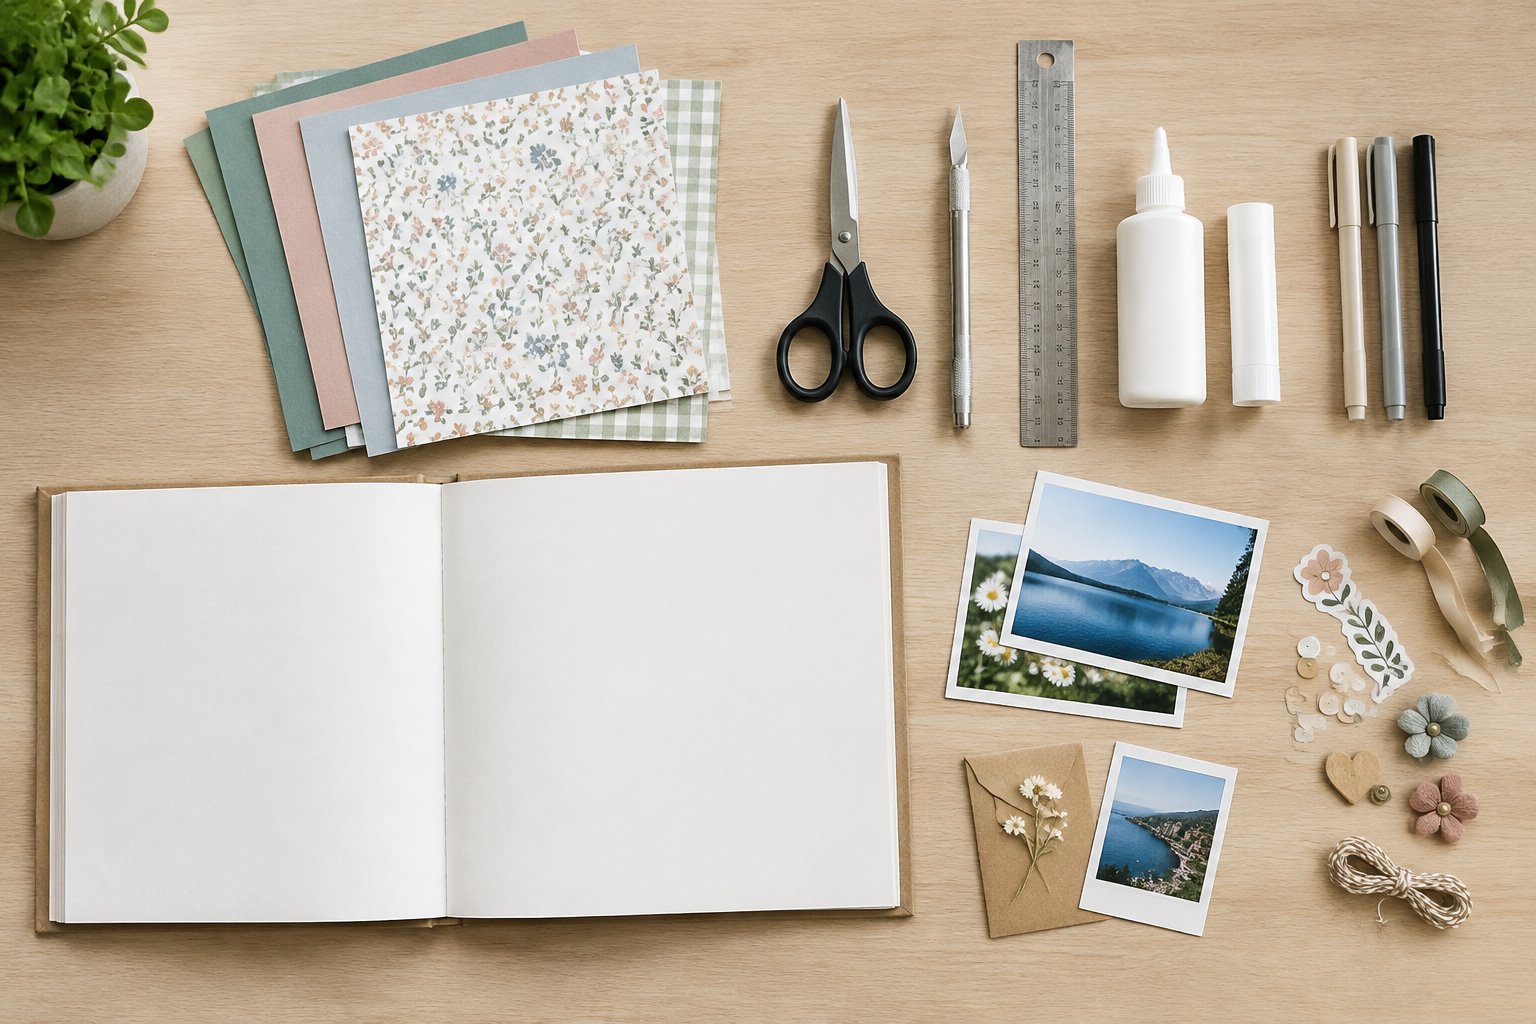
We remember how bewildering those walls of paper and racks of embellishments felt the first time. The good news is that most scrapbooking supplies are optional. A small, matched kit makes better pages than a drawer of unrelated bargains, because everything goes together and you spend your time making pages. Spend a little more on the adhesive and the cutting tool, since you use them on every page, and keep decorative spending small and deliberate.
If you would like more ideas once your first page is done, our scrapbooking hub has plenty to browse. Gather your photos, keep this list handy and make a start this week.
What Do You Need to Start Scrapbooking?
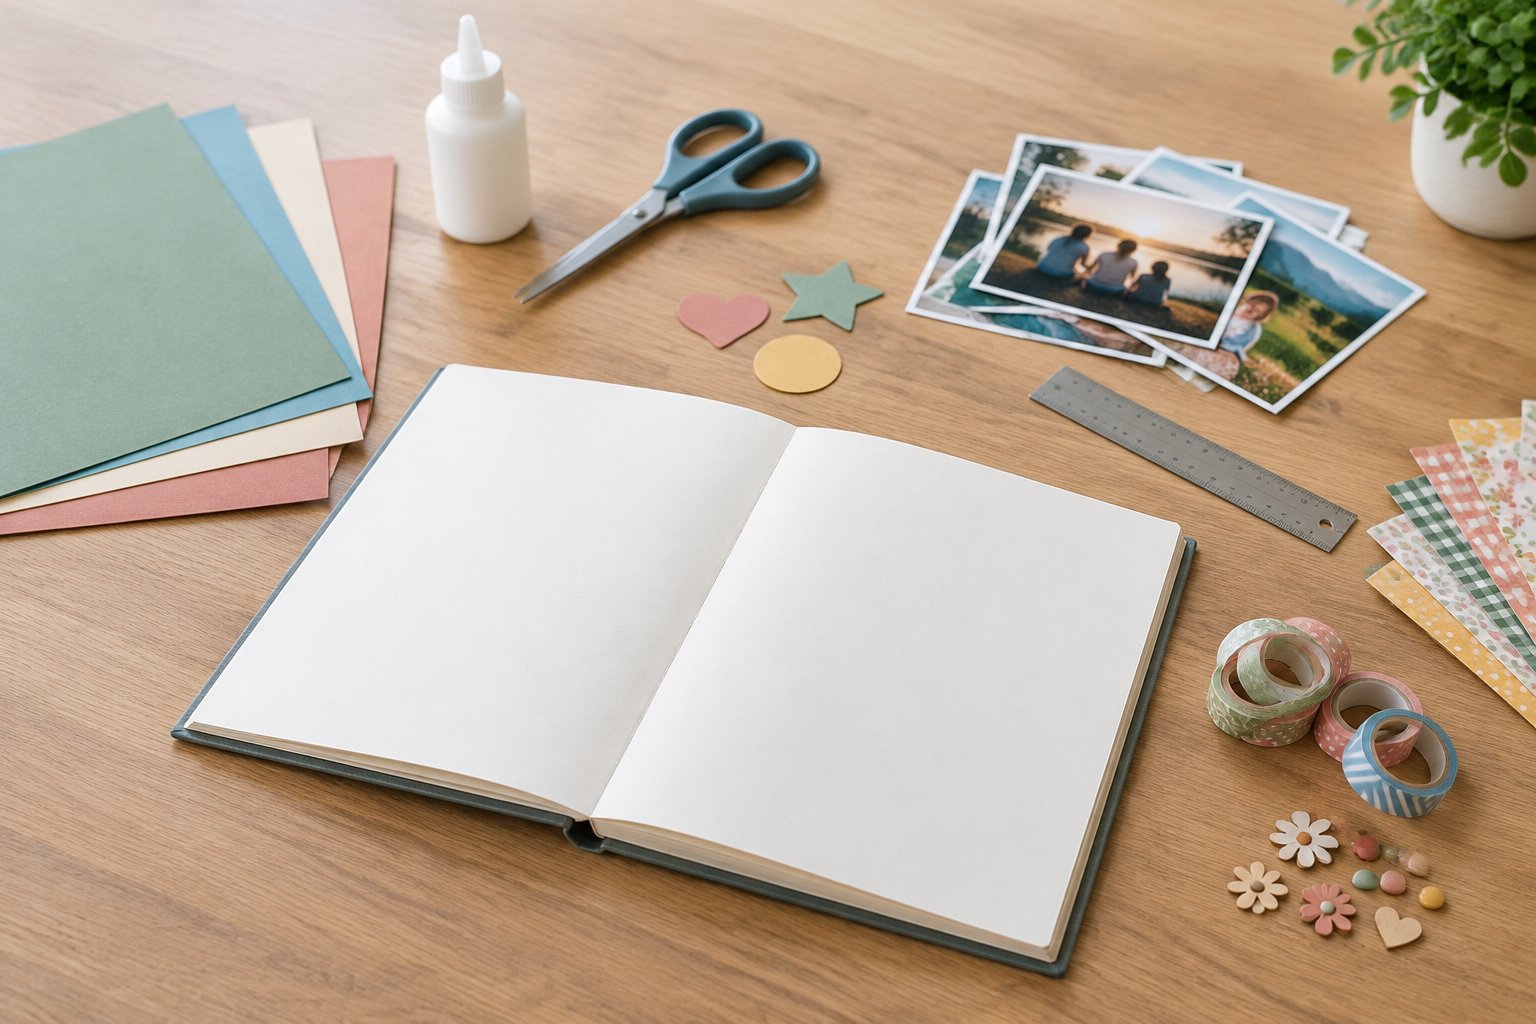
Seven items cover your first layout: an album, photos, paper, adhesive, a cutting tool, a pen and a few decorations. Buy the tools you touch on every page (adhesive, scissors or a trimmer) well. Keep the album modest and the decorations few.
The Small Starter Kit for Your First Page
Here is the scrapbook supplies list we would hand a friend, with the job each item does on a one-photo page:
| Item | Its job on your first page | Need now? |
| Scrapbook album (12×12 in or 8.5×11 in) | Holds and displays finished pages | Yes |
| Page protectors | Keeps pages clean and away from fingerprints | Yes |
| 2–3 printed photos | The story itself | Yes |
| Plain cardstock (white, kraft, black) | Page base and photo mats | Yes |
| One patterned paper pad | Colour and pattern that already match | Yes |
| Tape runner or double-sided tape | Attaches photos and paper flat | Yes |
| Craft scissors or a paper trimmer | Straight, clean cuts | Yes |
| Journaling pen | Captions, dates and names | Yes |
| Alphabet and label stickers | Titles and small accents | Yes, one sheet each |
| Foam tape, washi tape, enamel dots | Depth and detail | Later |
| Die-cutting machine, stamps, embossing | Specialist techniques | Skip for now |
A lot of scrapbooking supplies for beginners arrive as bundled kits. These look tempting, but the cheap all-in-one versions tend to include thin paper and adhesive that yellows. Putting together your own scrapbooking essentials from this list costs about the same and lasts longer. If you are watching the budget, the main point is to put your money into paper, adhesive and a trimmer first.
Which Cutting Tools Are Worth Buying First?
Start with one good pair of craft scissors. Precision scissors with short, fine blades cut tight curves around a photo or sticker cleanly. Kitchen scissors leave a jagged edge on cardstock, so keep a pair just for paper.
A paper trimmer is the next purchase, and for many crafters it comes first. A small rotary or sliding trimmer cuts photos and photo mats perfectly straight in one pass, and straight edges are what make a simple page look finished. A trimmer that cuts 12 inches handles full-size scrapbook paper. A smaller one is fine for photos and 6×6 pads.
If you prefer a craft knife, pair it with a metal ruler and a cutting mat. A plastic ruler gets shaved by the blade and the cut wanders. Change the blade sooner than you think you need to, because a blunt blade tears paper.
Which Adhesive Should You Use for Photos and Paper?
A double-sided tape runner is the best first adhesive. It sticks photos and paper flat, it is dry so nothing wrinkles, and it is quick to use. It will be the supply you run through fastest, so pick a runner that takes refills and buy refills from then on.
When choosing scrapbook adhesive, look for packaging that says acid-free or photo-safe. Those labels are a manufacturer’s description and not a guarantee that something will last for decades, but they are a sensible baseline for anything that touches a photo. Glue sticks are useful for small paper scraps but can buckle thin paper. Wet glue is best saved for later projects.
Photo corners are worth a small pack if you want to remove photos later. They slip over the four corners of a print, and only the corners are stuck to the page, so the photo itself carries no adhesive. Plain adhesive tape from the office drawer yellows and loses its grip, so leave it for parcels.
How Do You Choose an Album and Protect Your Pages?
Choose the album size first, because it sets the size of everything else. The most common scrapbook album is 12×12 inches, and most patterned paper is sold to match. An 8.5×11 inch album or a 6×8 inch album is smaller, quicker to fill and less daunting if you are unsure how many pages you will make.
Post-bound and ring-bound albums both let you add, remove and reorder pages. That flexibility helps when you are starting out and want to swap a weaker early page for a better one later. Check that page protectors in the matching size are easy to find before you buy, since you will need refills.
Page protectors are clear plastic sleeves that each page slides into. They keep sticky fingers, dust and rubbing pages away from your work, and they stop chunkier stickers catching on the facing page. Look for ones described as acid-free and PVC-free.
What Do You Need for Captions and Journalling?
One fine-tipped black journaling pen does the job. Look for a pigment ink pen described as fade-resistant and waterproof. Test it on a scrap of your cardstock first to check it does not bleed or smudge.
Journaling cards are pre-printed or plain cards, often 3×4 or 4×6 inches, that give your writing a tidy spot on the page. Many patterned paper pads include a sheet you can cut into cards, or you can cut your own from cardstock offcuts.
As for photos, a home photo printer is a lovely extra but you do not need one. Ordering prints online or using a high street photo kiosk gives you good quality at small sizes for very little money. Print a few photos at 4×6 inches and a couple at 3×4 inches so you have options when you arrange a page.
How Do You Choose Paper and Stickers Without Overbuying?
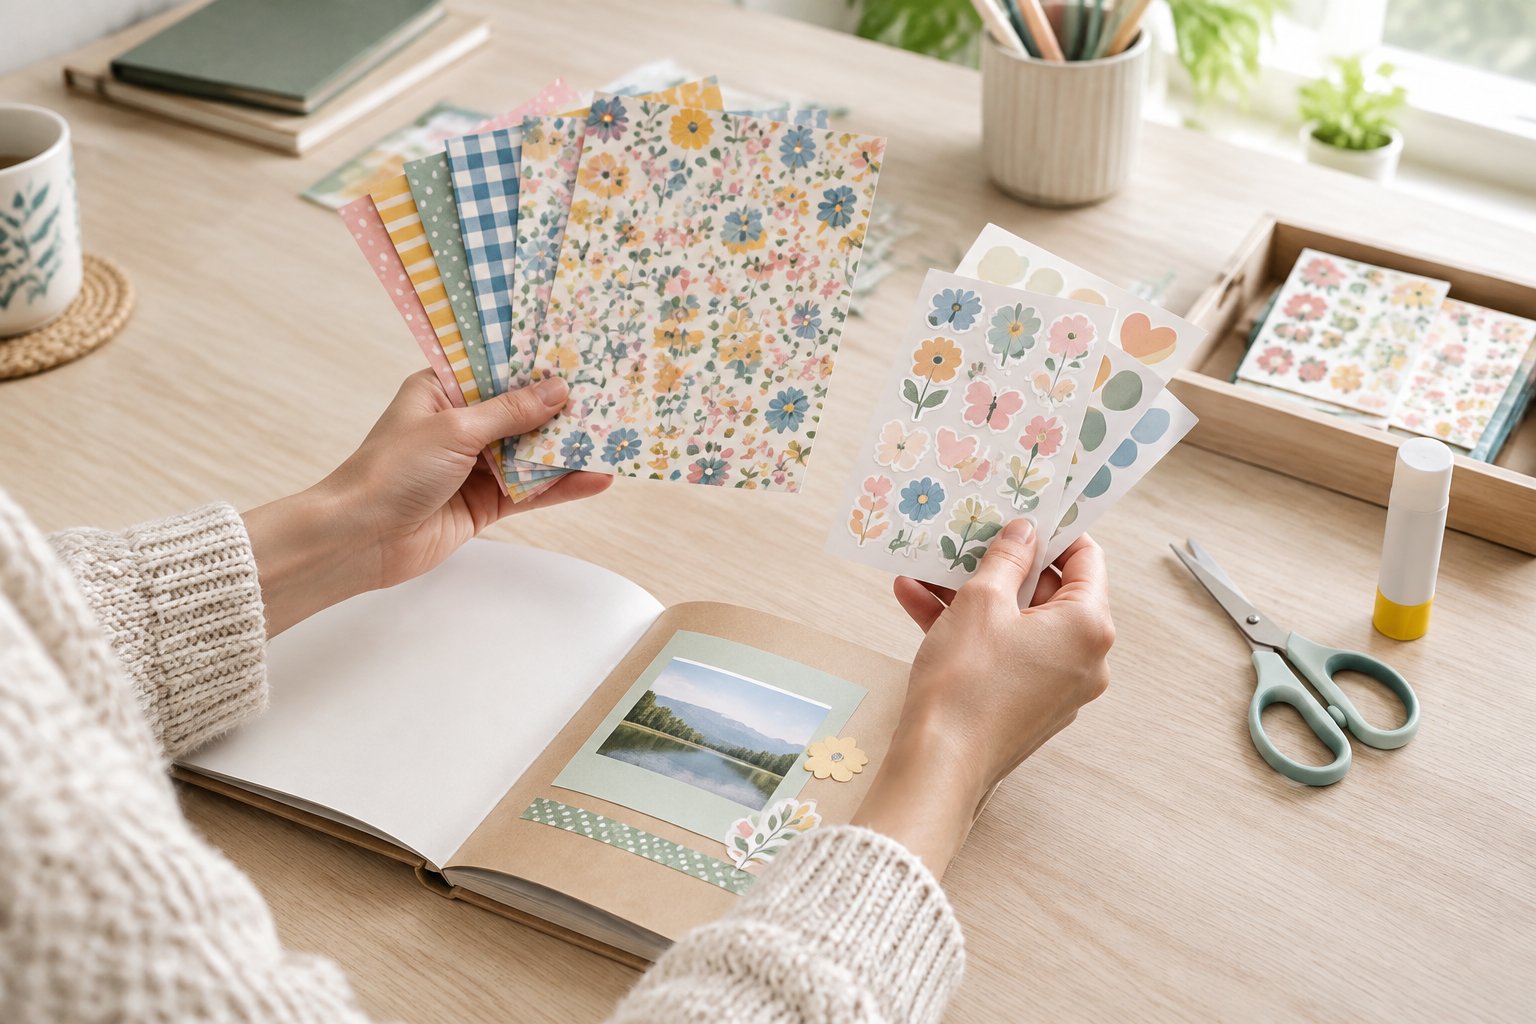
Buy plain cardstock in a few neutrals, one patterned paper pad from a single collection and two or three sticker sheets that match it. That combination solves the matching problem before you sit down. Paper weight and colour make the biggest difference to how polished a page looks.
Scrapbook Paper Sizes, Weights and Coordinating Collections
Scrapbook paper comes mainly in 12×12 inch sheets to fit standard albums, with 6×6 and 8×8 inch pads for smaller albums and accents. Match your main paper to your album size, and treat smaller pads as extras.
Weight is measured in grams per square metre (gsm), and two ranges cover almost everything:
- Cardstock, roughly 200–220 gsm: sturdy enough for page bases and photo mats. Heavier 250–300 gsm card suits covers and card bases.
- Patterned paper, roughly 100–120 gsm: thinner and printed, for decorative layers on top of cardstock.
- Printer paper, around 80 gsm: too thin for a page base and not made for photo contact.
A patterned paper pad from one collection is the easiest way in. Every sheet was designed to sit beside the others, and pads cost less per sheet than loose sheets. Most patterned paper is double-sided, so a 24-sheet pad gives you 48 designs. A helpful habit is to photograph each sheet when you open the pad so you can plan without flicking through it.
For photo safety, look for scrapbooking paper labelled acid-free, and ideally lignin-free too. Paper sold for scrapbooking is generally labelled clearly. Bargain craft paper with no labelling is best kept for practice.
Patterns and Colours That Complement Your Photos
Choose paper by looking at your photo first. Pick out two colours that appear in it, such as the blue of a coat or the green of a park, and find papers that echo them. The photo then looks like it belongs on the page.
Some guidelines that help on scrapbook layouts:
- Let plain cardstock do most of the work. A white or kraft base with one strip of pattern looks clean and keeps the photo in charge.
- Use one bold pattern and one quiet one. A busy floral beside a small dot or stripe works. Two large busy prints fight each other.
- Mat your photo on a plain colour. A 3–5 mm border of cardstock behind a photo separates it from a patterned background.
- Keep the background calmer than the photo. Busy photos with lots of people suit a plain page. Simple photos can take more pattern.
Neutrals such as white, cream, kraft and soft grey work with almost any collection, so buy more white cardstock than you think you will use.
Alphabet, Label and Themed Stickers That Earn Their Place
Stickers earn their place when they do a job, such as spelling a title, labelling a date or framing a caption. Choose stickers by that job, and you will use far fewer of them.
- Alphabet stickers: one sheet in a simple style, in a neutral colour such as black or white. Keeping the same lettering across pages looks tidy. Buy a sheet with plenty of vowels, since those run out first.
- Label stickers: small banners, tags and word labels hold a date, place or name and give your caption a home.
- Border stickers: thin strips edge a photo or divide a page in seconds, with no cutting needed.
- Themed stickers: a few seaside, birthday or travel motifs add personality. Pick ones from the same collection as your paper pad.
Group stickers in a small cluster of three beside the photo or title; scattered stickers look busy. Many sticker packs are labelled acid-free, but check the packaging and keep chunky or puffy stickers away from the photo surface itself.
Which Extras Are Worth Considering, and What Can Wait?
Small, reusable extras like foam tape, washi tape and a corner rounder punch are worth adding once you have made a few pages. Die-cutting machines, stamps, heat embossing and big kits can wait until you know you will use them. Buying slowly also shows you which shops suit you.
Small Embellishments and Tools You May Actually Use
These scrapbook materials are cheap, work across lots of themes and add a lot for their size:
- Foam tape or foam pads: foam adhesive lifts a title or label by a couple of millimetres and adds instant depth. A pack of foam pads lasts for dozens of pages.
- Washi tape: low-tack paper tape that works as a border, a tab or a way to hang a journaling card. Two or three rolls in neutral or matching colours are plenty.
- Enamel dots and sequins: tiny accents that finish a cluster. Use three or five, never thirty.
- Die cuts and chipboard: pre-cut shapes and thicker cardboard pieces, often sold with paper collections. Chipboard titles look striking but add bulk, so check your page protector closes over them.
- Glue dots: small sticky dots for attaching sequins, buttons and other small embellishments that tape will not hold.
- Liquid glue: a fine-tip liquid adhesive helps with tiny or fiddly paper pieces. Use it sparingly on thin paper.
- Corner rounder punch: rounds the corners of photos and mats in one press. A small, satisfying upgrade and inexpensive.
Machines, Special Techniques and Large Kits to Skip for Now
These scrapbooking tools are great fun but not needed for a lovely page:
- Die-cutting machines and craft cutting machines: a manual die-cutting machine or an electronic machine such as a Cricut cuts intricate shapes and titles. They cost a fair amount, and so do the dies, mats and blades that go with them. Make a few pages first, and if you find yourself wishing you could cut custom titles, our beginner’s guide to crafting with Cricut explains what the machines do.
- Stamps and ink: one stamp set and an ink pad add lots of variety, but they are a new skill to learn. Add them once you have a feel for your style.
- Heat embossing: embossing tools, powders and a heat gun create raised, glossy designs. A lovely technique, though it is a whole new set of embossing tools to store.
- Large themed kits: enormous bundles often include paper and embellishments you will never use. A small monthly kit that matches your style is a better first experiment.
How to Compare Scrapbooking Shops Before You Buy
High street craft chains, independent scrapbook shops and online sellers all stock scrapbook supplies. Compare them on these points:
| What to check | What to look for |
| Range | Refills for your tape runner, matching page protectors, full collections |
| Prices | Price per sheet on pads, refill prices, multi-buy offers |
| Product descriptions | Sizes in inches or cm, gsm, acid-free or photo-safe labelling |
| Delivery | UK delivery costs, free delivery thresholds, delivery times |
| Returns | Clear returns window, especially on tools |
| Support | Easy contact, helpful answers to questions before you buy |
Clear descriptions save you from mistakes like 6×6 paper when you wanted 12×12. Independent shops often offer helpful advice and curated collections. Larger retailers usually have wider stock of basics and refills.
Simple Ways to Store Paper, Stickers and Tools
Storage does not need special furniture. A few cheap options keep a small kit in good order:
- Paper: store sheets flat in a 12×12 inch plastic paper storage box or a large zip folder. Standing paper on its edge for long periods can bend it.
- Stickers and embellishments: use clear zip bags or a small craft organiser with dividers. Group by collection so everything matching stays together.
- Tools: keep scissors, trimmer, pen and tape runner in a pencil case or caddy so they come out together.
- Work in progress: put a page’s photo, paper and stickers in one folder as a mini kit, ready for when you have a spare half hour.
Keep supplies out of direct sunlight and away from damp, as both affect paper and photos. If you enjoy other paper hobbies, our guide to origami, quilling and paper toys is a lovely way to use up scraps.
How Do You Make Your First Scrapbook Layout?
A one-photo layout is the easiest first page in paper crafting: choose a photo, arrange it on a background, add a caption, then stick it down and protect it. Each step uses one item from your kit, so you can see exactly why you bought it. Our guide to scrapbooking has more on themes and storytelling once you are comfortable.
Arrange One Photo, Paper and a Few Stickers
- Pick the photo. Choose one that makes you smile and is sharp. A 4×6 inch print suits a 12×12 page.
- Choose the base. Lay the photo on white or kraft cardstock and on two sheets from your pad. Keep whichever lets the photo stand out.
- Cut a mat. Use your trimmer to cut a piece of cardstock about 5 mm bigger than the photo on each side.
- Add one patterned strip. Cut a strip of patterned paper roughly 3–4 inches deep to run across the page behind the photo.
- Arrange without sticking. Place the matted photo slightly above centre, then try your title stickers and a small cluster of three embellishments near one corner. Move pieces until the page feels balanced and take a quick phone photo of the arrangement.
Add a Caption, Then Attach and Protect the Page
- Write the caption. On a journaling card, write who, where and when, plus one line about how the moment felt. Writing on a card first lets you redo it if you make a mistake.
- Spell the title. Add alphabet stickers along the patterned strip or above the photo. Position the middle letter first so the word sits centrally.
- Stick it down. Use your tape runner around the edges and across the middle of the mat, background strip and journaling card. Use photo corners on the photo if you want it removable.
- Add depth. Lift the title label or one sticker on foam tape.
- Protect it. Slide the finished page into a page protector and add it to your album.
Build a Small Kit You Will Actually Use
A good first page needs only a handful of supplies, chosen because each one does a job. Buy the tools you use every time well, keep paper and stickers to one matching collection, and add extras once your own pages tell you what you miss. Save this checklist for your first shopping trip:
- Album in 12×12 or 8.5×11 inches
- Page protectors in the same size
- A few printed photos
- White, kraft and black cardstock (200–220 gsm)
- One patterned paper pad from a single collection
- Photo-safe tape runner plus a refill
- Craft scissors and, ideally, a small paper trimmer
- Black pigment journaling pen
- One alphabet sticker sheet and one label or themed sticker sheet
Once you have made a few pages, browse our scrapbooking section for beginner-friendly ideas, or look at our other creative fun hobbies to try if you fancy pairing paper crafts with something new.
Frequently Asked Questions
What supplies do I need for scrapbooking?
You need an album with page protectors, photos, cardstock and patterned paper, a tape runner, scissors or a trimmer, a journaling pen and a few stickers. That covers every step of a simple page. Machines and stamps are optional extras.
What paper is best for a scrapbook?
Acid-free cardstock at around 200–220 gsm is best for page bases, with 100–120 gsm patterned paper for decorative layers. Buy a patterned paper pad from one collection so the colours match. Pick the paper size that fits your album, usually 12×12 inches.
Are scrapbook stickers acid-free?
Many scrapbook stickers are labelled acid-free, but not all are, so check the packaging. If a sticker carries no labelling, keep it off the photo itself and place it on the paper instead. Page protectors also help keep stickers from rubbing against facing pages.
Do I need a paper trimmer to start scrapbooking?
You can start with good craft scissors and a metal ruler, but a paper trimmer is one of the most useful early purchases. It gives perfectly straight edges on photos and mats, which makes simple pages look neat. A basic 12 inch trimmer is inexpensive.
Is a Cricut worth buying for a beginner?
A Cricut is not necessary for a beginner, and most people are better off making a few pages first. It is worth considering once you regularly want custom titles or detailed shapes. Factor in the cost of mats, blades and materials before you buy.
