
A single square of paper can become a butterfly in about ten minutes, even if you have never folded origami before. The easiest route to a clean result is a 6-inch square of origami paper folded colored side down, using just two valley folds, two diagonal creases, and one collapse into a triangle. That combination keeps the layers thin enough to shape by hand and forgiving enough for a first attempt.
This guide teaches one easy origami butterfly design from start to finish, with no detours into variations or advanced models. Each step covers a single fold, so you always know which corner or edge is moving and where it needs to land.
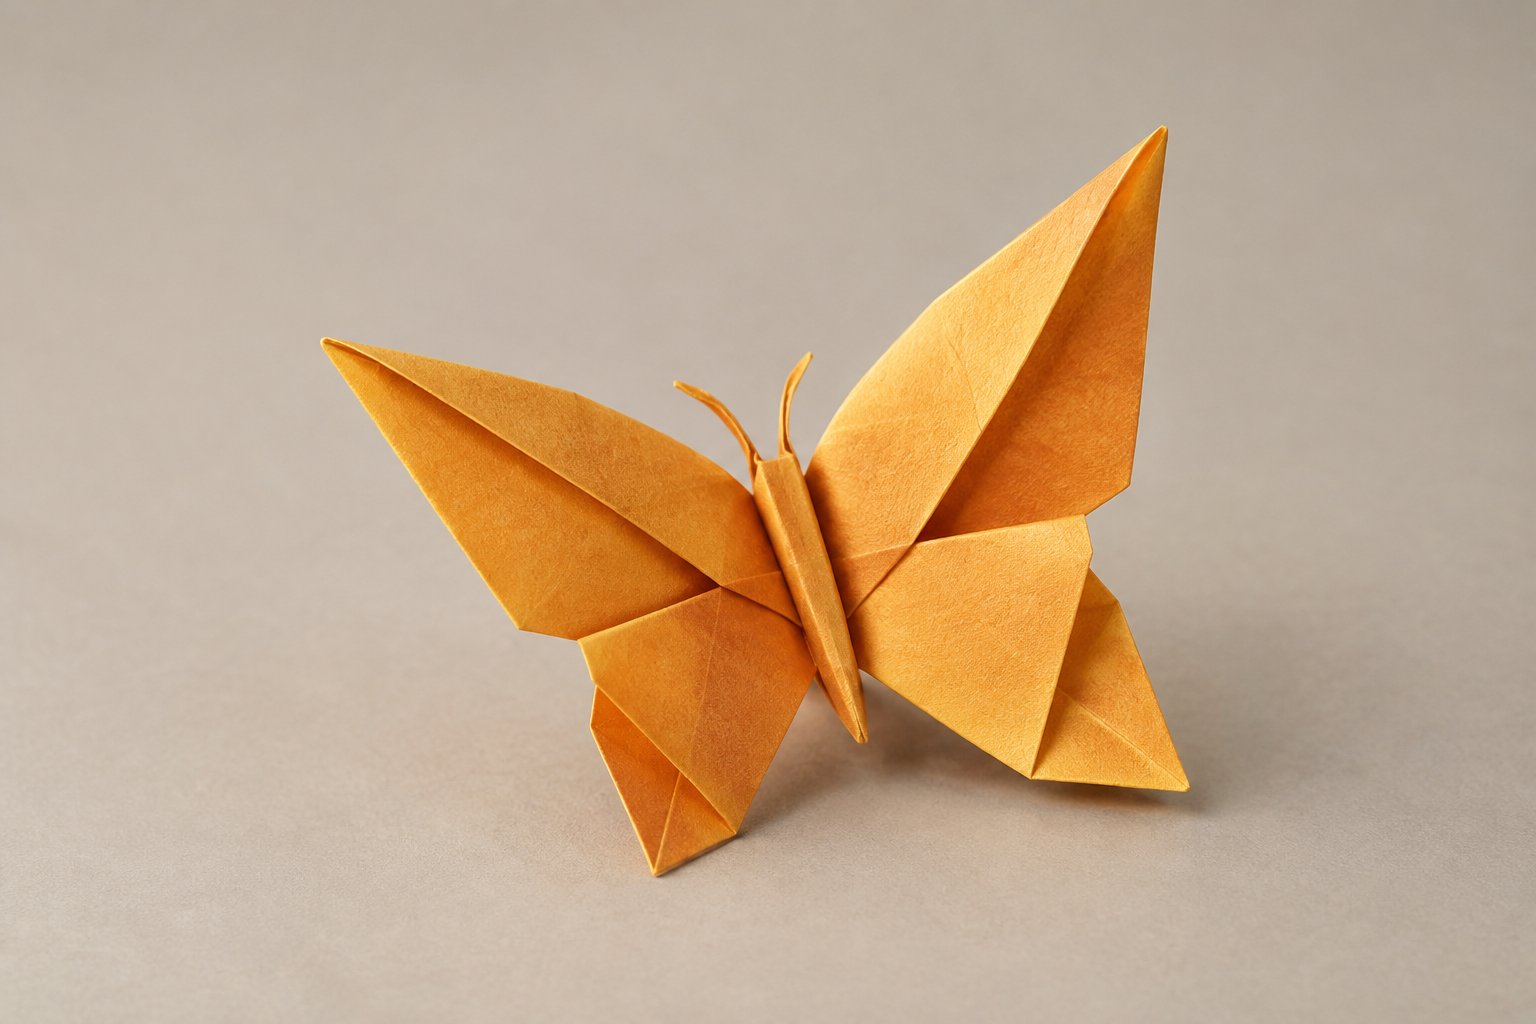
An origami butterfly works well as a first project because the folds repeat a small set of moves: fold in half, check the crease, fold again. By the final step, you will have a two-winged paper butterfly that stands on its own without glue or tape.
What Paper Do You Need Before You Start?
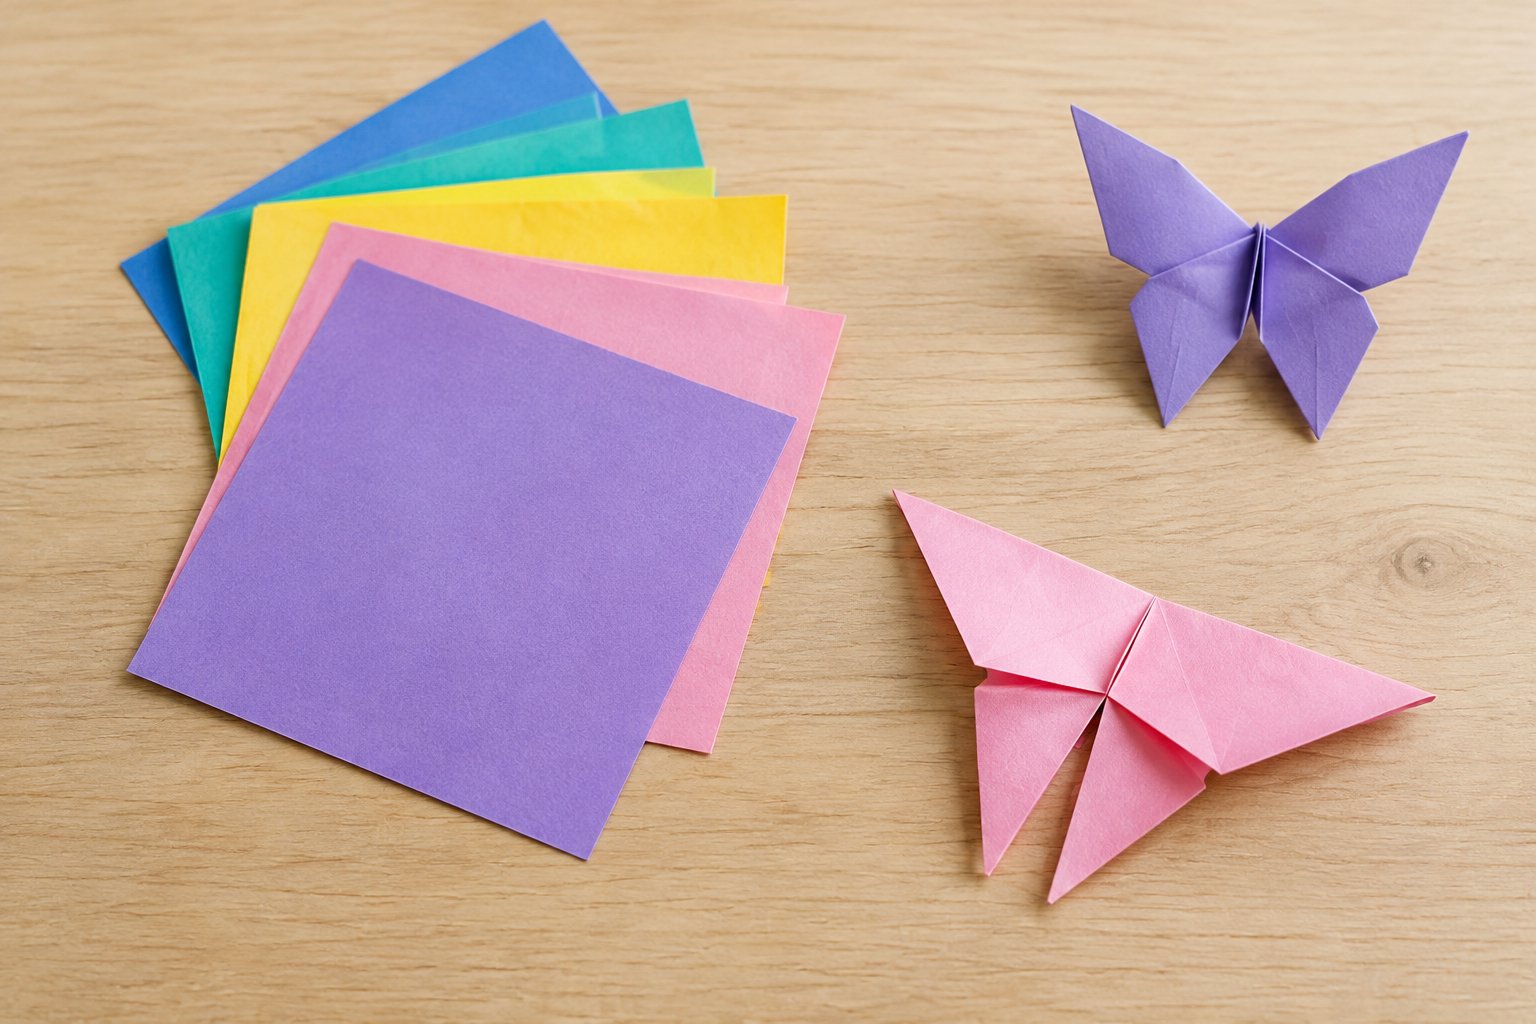
A 6-inch square of origami paper, used colored side up or down depending on the step, gives the most reliable results for a first butterfly. Regular printer paper trimmed into a square works too, though origami paper folds flatter because it is thinner. Patterned paper adds visual interest once you are comfortable with the basic paper folding sequence.
Choose a 6-Inch Square Sheet
A 6-by-6-inch (15 cm) square is the standard size for this model and the easiest to handle with beginner hands. Smaller paper makes the later folds fiddly, since several layers stack on top of each other near the center. Larger paper (8 inches or more) is a reasonable substitute if your fingers struggle with precision at 6 inches.
Set the Paper Colored Side Up
Start with the white or plain side facing up, so the colored or patterned side touches the table. This way, the color appears on the outside of the finished wings once the model is complete. If your paper is the same color on both sides, this step does not matter.
Understand Valley and Mountain Folds
A valley fold means folding the paper toward you, so the crease dips down like a valley when you look at it from the side. A mountain fold is the opposite: the paper folds away from you, so the crease pokes up like a small ridge. Every step in this tutorial will tell you which one to use.
How Do You Make the First Creases?
The first creases set up the whole model, so getting them straight and centered now saves frustration later. These initial folds are simple edge-to-edge and corner-to-corner valley folds that you make and then undo, leaving behind guide lines for the rest of the butterfly.
Fold the Horizontal and Vertical Center Lines
- Lay your square paper flat, white side up.
- Fold the bottom edge up to meet the top edge, making a valley fold, then unfold it. You now have a horizontal crease running through the center.
- Fold the left edge over to meet the right edge, making a valley fold, then unfold it. You now have a vertical crease crossing the first one.
Check that both creases meet exactly in the middle of the square before moving on. If they cross off-center, your next folds will be lopsided.
Fold Both Diagonals and Check the Crease Pattern
- Fold the bottom-left corner up to meet the top-right corner, making a valley fold, then unfold it.
- Fold the bottom-right corner up to meet the top-left corner, making a valley fold, then unfold it.
- Lay the paper flat and look at the crease pattern: you should see an X running corner to corner, crossed by a plus-sign shape through the center.
This crease pattern is the foundation for every fold that follows. Readers who want to see how similar grid creases support other paper projects can find more background in the ultimate beginners guide to origami, quilling, and paper toys.
How Do You Form and Shape the Butterfly?
The paper collapses into a small triangle first, then opens back out into a pair of wings. This is the part of the easy origami butterfly tutorial where the flat square finally starts looking like an insect instead of a sheet of paper.
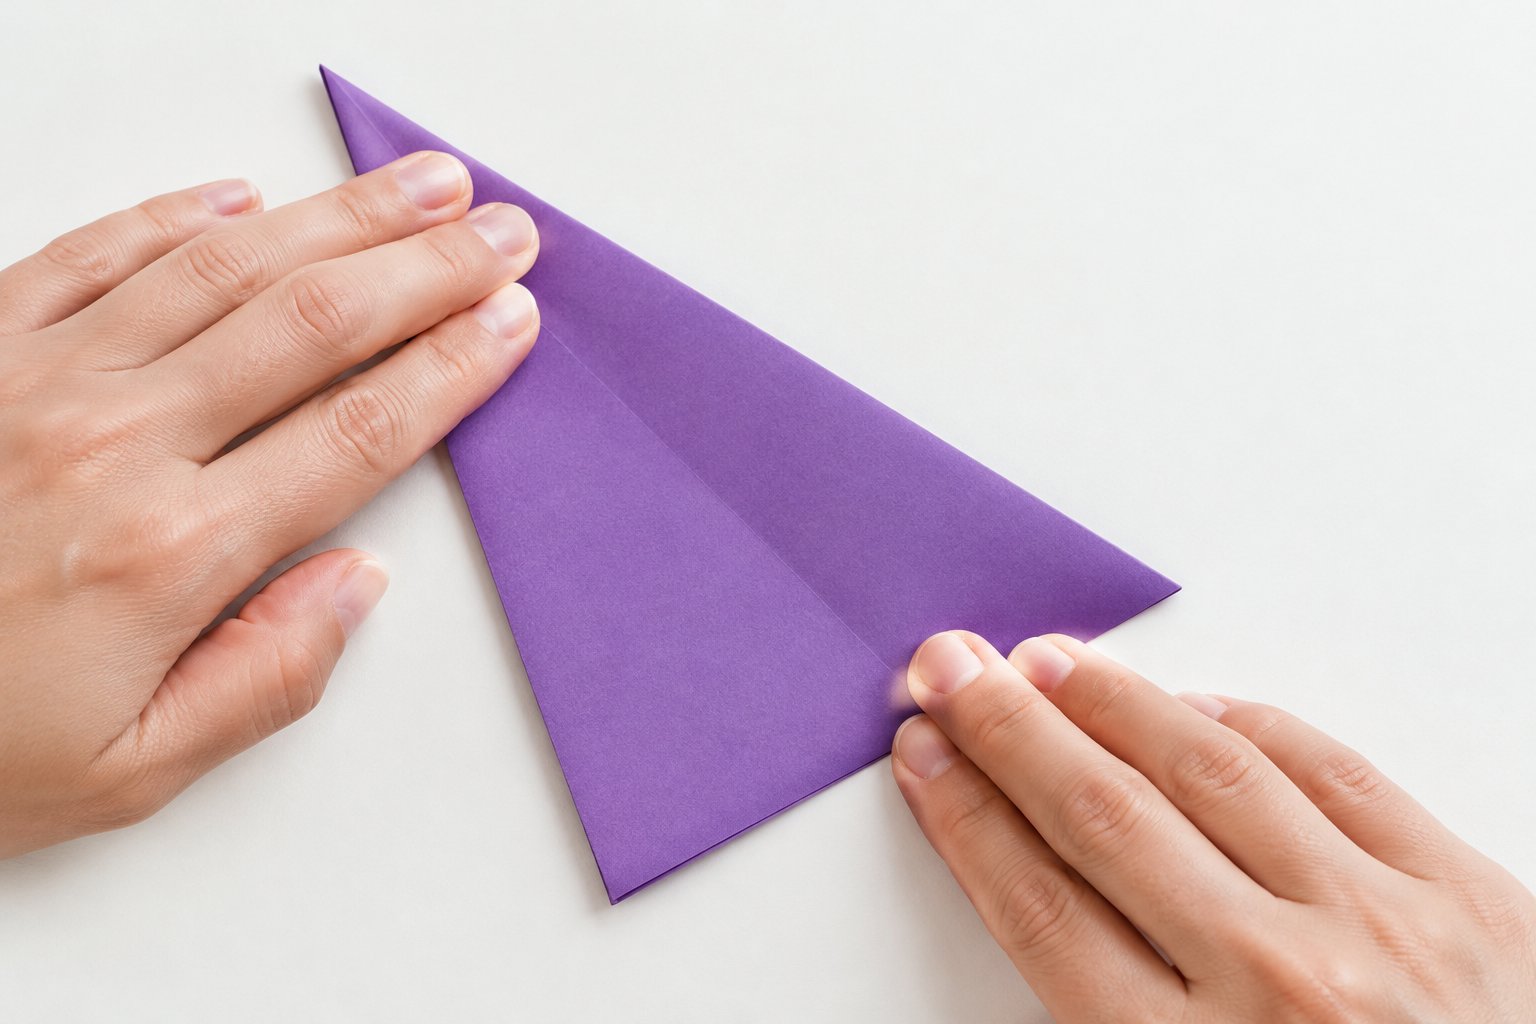
Collapse the Paper into a Triangle
- Flip the paper so the white side faces down.
- Gently push the left and right edges toward the center while the top half folds down, letting the existing creases guide the paper.
- Flatten the paper into a triangle with the point facing up. This triangle is the base for the wings.
Checkpoint: before continuing, confirm the triangle lies flat with no stray creases poking out. If a corner refuses to tuck in, open the model back to a flat square and recheck step 2 of the previous section.
Fold the Wing Corners and Secure the Center
- Take the bottom-left corner of the top layer and fold it up to touch the top point of the triangle, making a valley fold.
- Repeat on the bottom-right corner, folding it up to touch the same top point.
- Flip the whole model over to the other side.
- Fold the top point of this side down toward the bottom edge, leaving a small gap rather than letting the tip touch exactly, then fold the tip back up over that new edge. This small triangle locks the layers together and becomes the butterfly’s body.
Open and Lift the Wings
- Flip the model over one more time.
- Fold the whole butterfly in half along the vertical center, bringing the wings together at the back.
- Let the fold spring open about halfway, so the two wing panels rise upward on each side of the body.
- Pinch the body firmly between your fingers to hold the shape in place.
Your paper butterfly should now stand with its wings lifted and its body pinched narrow in the middle.
How Can You Fix Common Folding Problems?
Most problems with origami butterflies trace back to one of three causes: misaligned starting creases, a fold made in the wrong direction, or paper that will not hold a sharp crease. Each has a straightforward fix that does not require starting over from scratch.
Uneven Wings
Uneven wings usually mean the two wing-corner folds in the shaping step did not land at the same point on the triangle’s tip. Open the wings back down flat, compare both corners against the center point, and refold the shorter one so it matches. Working on a flat, hard surface instead of a soft one also keeps both sides more symmetrical.
Folds Going the Wrong Way
A fold going the wrong way usually means a valley fold was made as a mountain fold, or the reverse. If the model looks inside out compared to the instructions, unfold the step in question and flip the direction of that single crease rather than redoing the whole butterfly. Checking the paper against the step’s description before pressing the crease flat prevents this from happening again.
Creases That Will Not Hold
A crease that will not hold means the paper’s fibers have not been pressed firmly enough to keep their new shape. Run a fingernail or the edge of a ruler along each crease after folding, pressing from the center outward toward both edges. Thinner origami paper holds creases more reliably than thick cardstock, so switching paper types solves this for good if it keeps happening across multiple models.
Your First Paper Butterfly Is Ready
Folding this butterfly comes down to a short sequence: center creases, diagonal creases, a triangle collapse, two wing folds, and a final pinch at the body. Each step builds directly on the one before it, which is why working through the folds in order matters more than speed. A 6-inch square of paper, folded white side up to start, is all the material this project needs. With the crease pattern and troubleshooting fixes covered here, a second and third butterfly will come together faster than the first one did.
Frequently Asked Questions
Can I make this butterfly with printer paper?
Printer paper works for this butterfly as long as it is trimmed into a square first. It folds slightly thicker than dedicated origami paper, so press creases firmly and expect a bit less crispness in the final wing shape.
Which side of the paper should face up?
Start with the white or plain side facing up and the colored or patterned side facing down against the table. This places the color on the outside of the finished wings once the model is folded.
Can kids fold this butterfly?
Kids can fold this butterfly with adult supervision on the more precise steps, like aligning the diagonal creases and collapsing the triangle. Younger folders often need help with the final pinch at the body, since it requires holding several layers together at once.
Why won’t my butterfly stay folded?
A butterfly that won’t stay folded usually has creases that were not pressed firmly enough to hold their shape. Go back over each crease with a fingernail or the edge of a ruler, pressing from the center of the line outward toward both edges.
Is there an origami butterfly video tutorial?
Many paper-folding creators publish an origami butterfly video tutorial that shows the triangle collapse and wing folds in real time, which can help if a written step is unclear. Watching the collapse step happen on video is often the fastest way to understand how the creases guide the paper into shape.
