
Mixing flour and water in a 1:2 ratio makes a simple paper mache paste that’s ready to use in minutes, with no cooking required. This is the version most classrooms and kitchen tables reach for first, and it works for everything from a quick school volcano to a weekend piñata. A cooked version and a white glue version exist too, each suited to different projects.
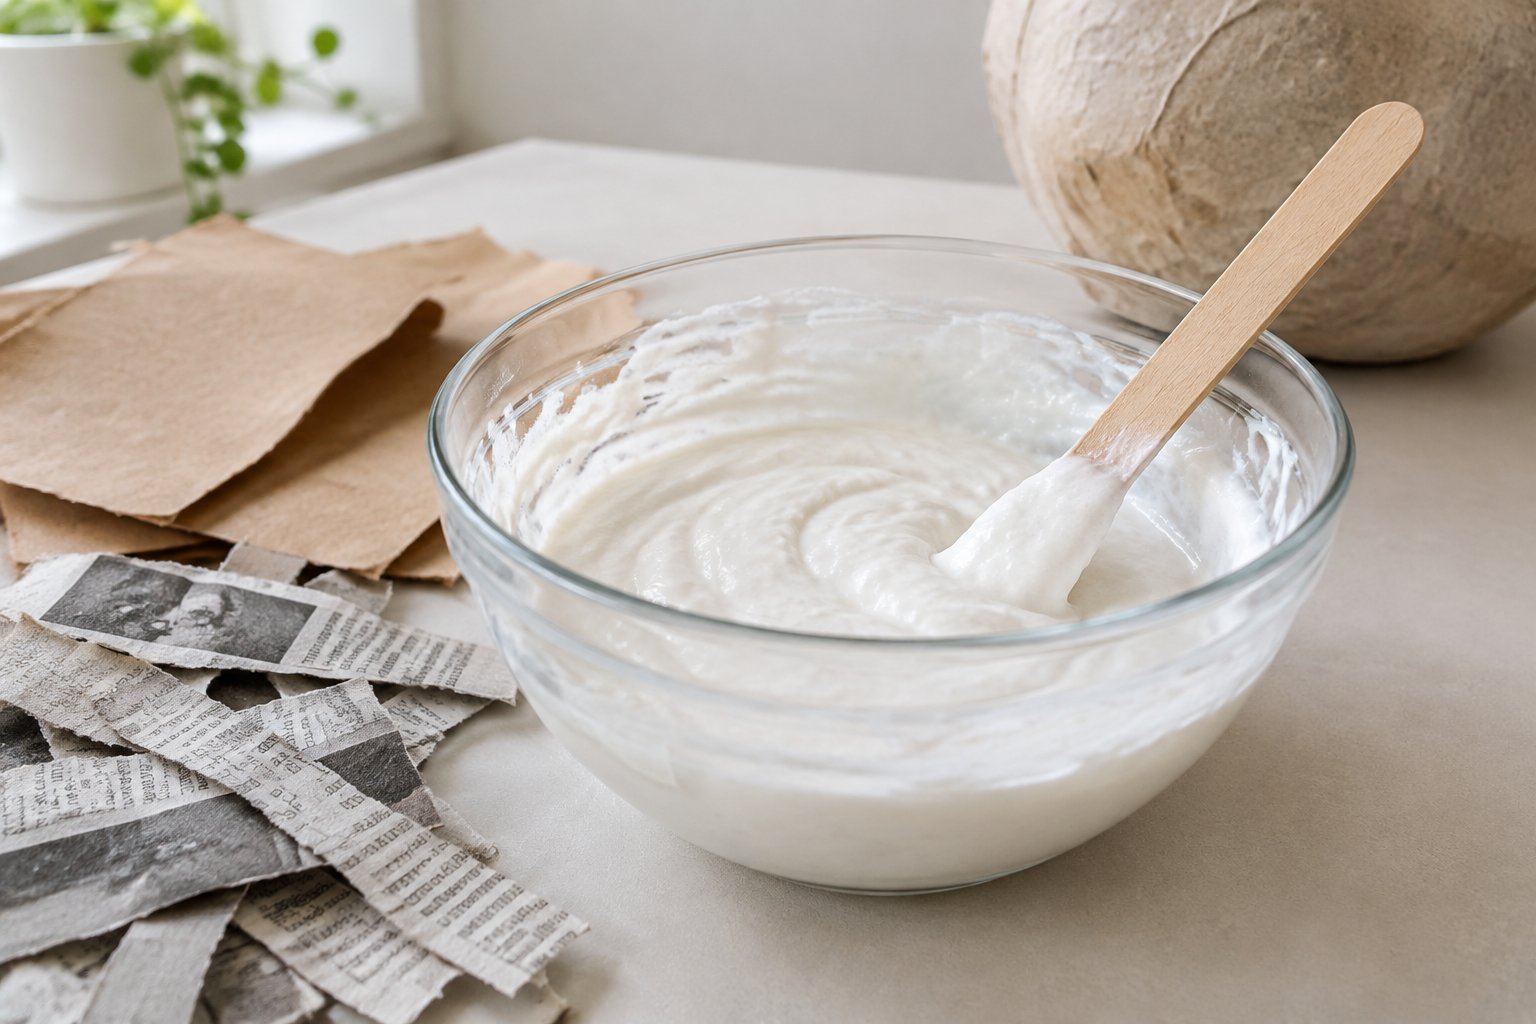
Paper mache paste is the glue that holds the craft together, and getting the consistency right makes the difference between a project that dries hard and one that stays soggy or peels apart. The good news: you likely have everything you need already sitting in the pantry. Flour, water, and a bowl are enough to get started, and a batch comes together faster than most people expect.
How Do You Make No-Cook Flour Paste?
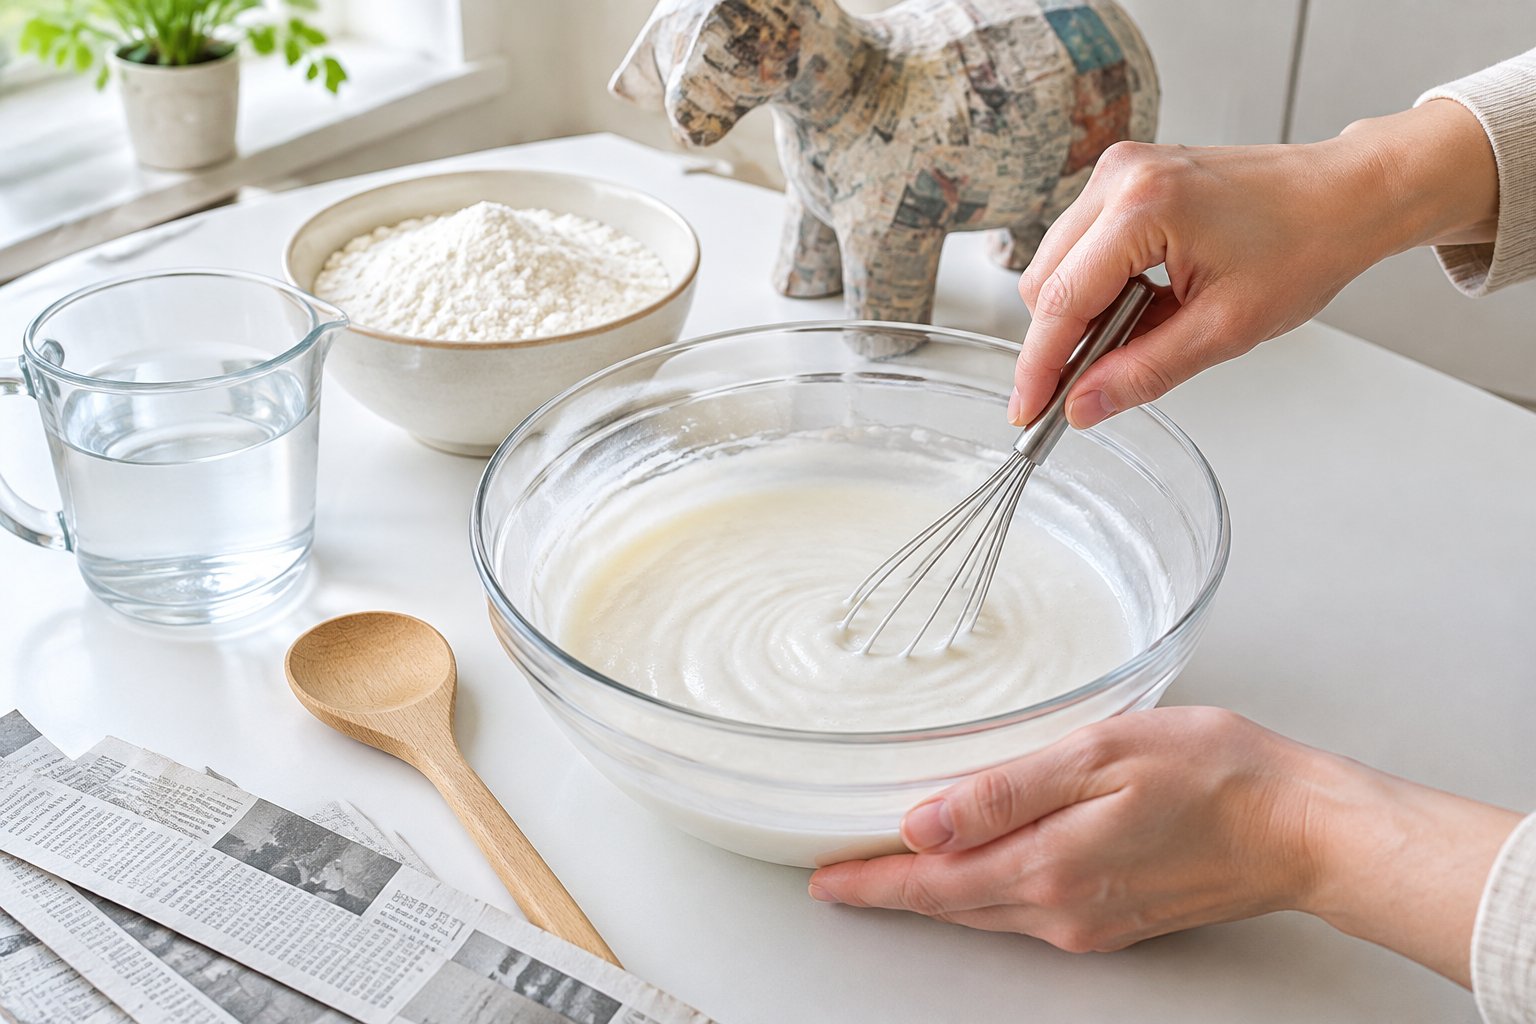
No-cook flour paste comes from whisking one part all-purpose flour with two parts water until the mixture looks like pancake batter. No heat, no stove, no waiting. It’s the version we’d point a beginner toward first, since it’s forgiving, cheap, and safe for kids to mix themselves.
Ingredients and Equipment
This paper mache paste recipe needs only a few pantry staples:
- 1 cup all-purpose flour
- 2 cups cool tap water
- 1 tablespoon salt (optional, helps resist mold in humid rooms)
- Large mixing bowl
- Whisk or fork
- Measuring cup
Numbered Mixing Steps
Follow this flour paper mache recipe in order so lumps don’t set in:
- Pour the flour into the mixing bowl.
- Add the water gradually, whisking as you pour.
- Keep whisking until no dry flour pockets remain.
- Stir in the salt if your workspace runs humid.
- Let the paste rest for a minute, then give it one more stir before dipping paper.
What Should the Finished Paste Look Like?
Finished flour paste should pour like thin pancake batter or heavy cream, not like glue straight from a bottle. If it clings to the whisk in thick clumps, it’s too thick; add a splash of water. If it runs off a dipped strip instantly without coating it, whisk in a bit more flour. The color stays slightly off-white, and that’s normal for this method.
How Do You Make a White Glue Version?
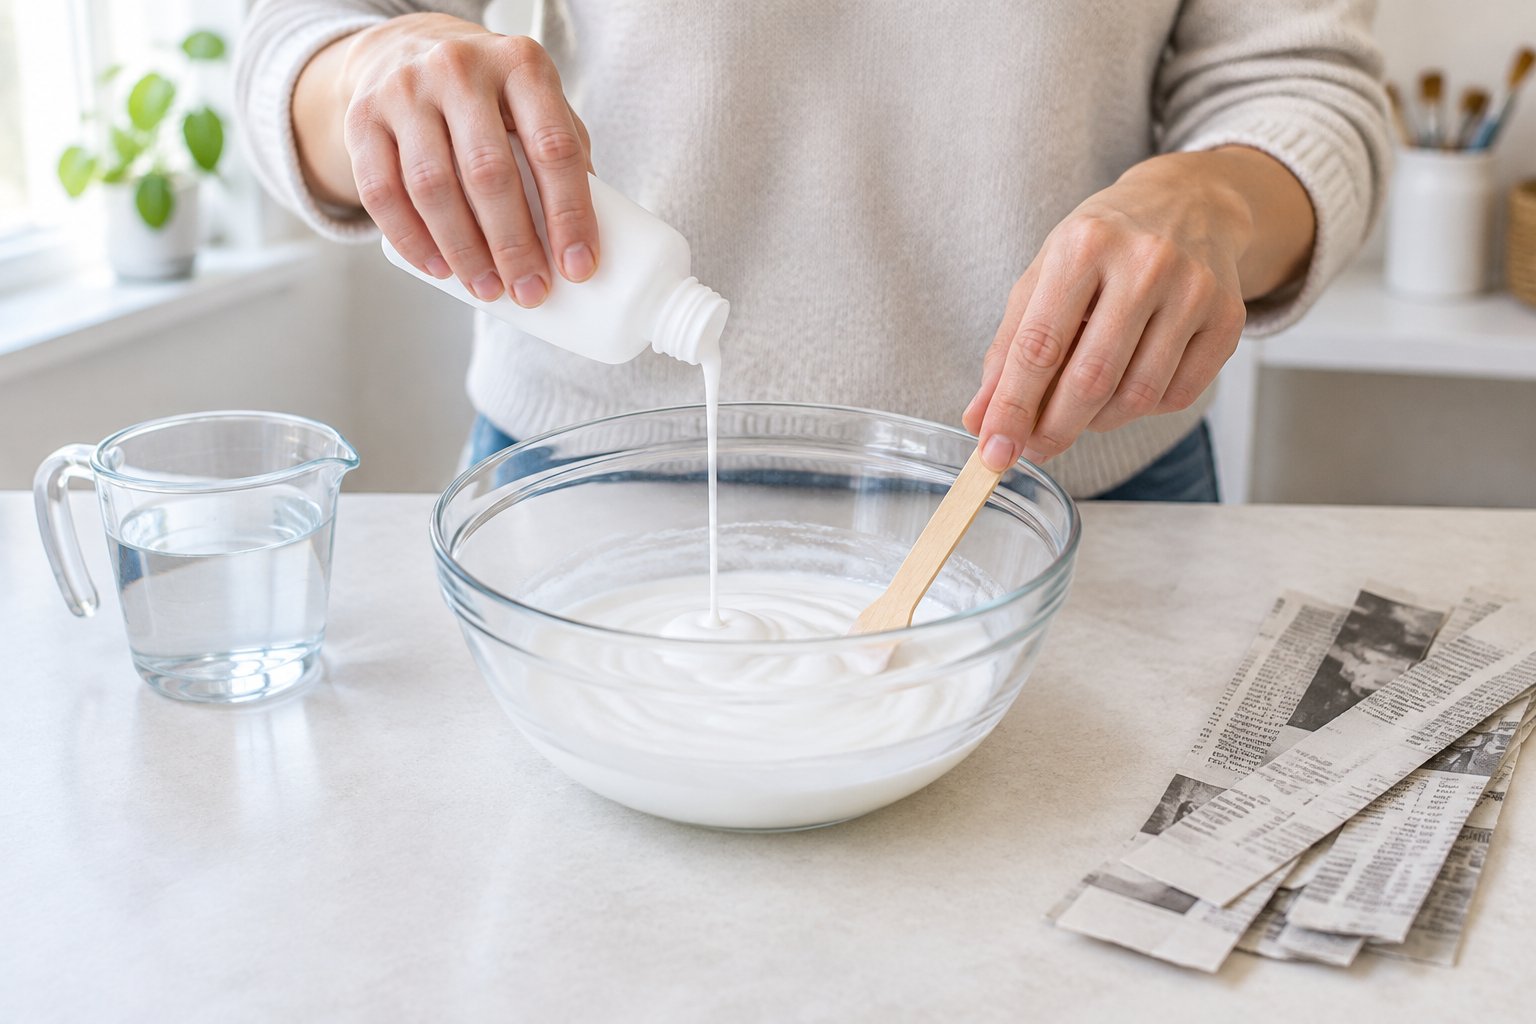
A glue-based paper mache paste mixes two parts white PVA glue with one part water, producing a stronger and more mold-resistant bond than flour. This paper mache glue works well for pieces meant to last for years, like keepsake ornaments or display sculptures.
Glue-to-Water Ratio and Mixing Steps
Start with 2 parts white glue to 1 part water in a bowl, stirring with a spoon or whisk until fully blended. For a harder shell, increase the ratio to 3 parts glue to 1 part water. Mix only what you’ll use within a session, since glue paste thickens as it sits.
When to Choose Glue Instead of Flour
Choose white glue when the project needs to survive handling over years, like a mask that gets worn repeatedly or a piece headed for a damp basement. Glue paste dries with a slightly flexible, durable finish that resists the mold flour paste can develop in humid climates. Flour wins on cost and eco-friendliness; glue wins on longevity.
Where Do Cooked Paste and Wallpaper Paste Fit?
Cooked flour paste sits between the two: heating releases the starch in flour, producing a stronger, clearer bond than the raw version while staying cheaper than glue. It dries clear, which matters if the final layer needs to show through. Wallpaper paste is a separate commercial product some crafters substitute for homemade papier mache paste; it mixes similarly to flour paste but isn’t formulated as a food-safe adhesive, so keep it away from young kids handling the mix directly.
How Do You Apply Paste to Paper?
Dip torn paper strips into the paste, then squeegee off the excess between two fingers before laying them onto your form. This single habit prevents more paper mache failures than any other step, since over-saturated strips stay soft and never fully harden.
Coating and Smoothing Paper Strips
Tear newspaper into strips about one inch wide rather than cutting them with scissors; torn edges blend together more smoothly. Dip each strip fully into the paste, then run it between your index and middle fingers to wipe off extra liquid. Lay it onto the form and smooth it down with your fingers to push out air bubbles and wrinkles.
Layering and Drying a Project
Apply three to four layers total, alternating the direction of each layer so the strips crisscross. Let the piece dry partially between layers if it starts feeling too wet, and give the finished project 24 to 48 hours to dry fully depending on humidity. Tap it gently; a hollow, woody sound means it’s ready, while a dull thud means it needs more time.
When to Use Paper Mache Clay Instead
Paper mache clay (a blend of paper pulp, paste, and filler like joint compound) works better than strips for projects needing fine detail, such as a paper mache mask with a sculpted nose or a paper mache pumpkin with defined ridges. It behaves more like modeling clay than a wet strip, so you can shape it directly with your hands. Standard strip-and-paste methods suit flatter paper crafts and broader paper mache projects like bowls or piñatas.
How Do You Fix and Store Leftover Paste?
Most paste problems fix with a quick adjustment: add water for thick paste, add flour for thin paste, and whisk harder for lumps. Catching these issues early saves a batch from going in the trash.
Fixing Paste That Is Too Thick, Thin, or Lumpy
Thick paste that won’t soak into paper needs a splash of water, stirred in a little at a time. Thin paste that runs off strips without coating them needs a spoonful more flour, whisked in until it thickens. Lumps respond best to a whisk or hand blender; press stubborn lumps against the side of the bowl to break them up.
Storing Flour Paste and Recognizing Spoilage
Store leftover flour paste in a covered, airtight container in the refrigerator, where it keeps for a few days up to about a week. Adding a tablespoon of salt when mixing helps it last closer to the longer end of that range. Discard the batch if it develops a sour smell, visible mold spots, or an unusual color; a quick stir fixes separation, but it won’t fix spoilage.
Disposing of Leftovers and Cleaning Up
Never pour leftover paste down the drain, since flour and glue mixtures can clog pipes as they dry. Let any paste you’re discarding dry out fully, then scrape it into the trash. Clean bowls and whisks with warm water right after use, before the paste has a chance to dry onto the surface.
Choosing a Paste You Can Use Right Away
No-cook flour paste gets a project started within minutes and needs nothing beyond a bowl and a whisk. It suits first-time crafters, classroom groups, and anyone who wants to skip the stove entirely.
|
Paste Type |
Prep Time |
Dries Clear |
Best For |
|---|---|---|---|
|
No-cook flour |
5 minutes |
No |
Quick projects, kids |
|
Cooked flour |
15 minutes |
Yes |
Smoother, stronger shell |
|
White glue (PVA) |
5 minutes |
Mostly |
Long-lasting, display pieces |
Flour paste costs pennies and uses ingredients most kitchens already stock. Glue paste costs more but holds up better against humidity and repeated handling. Either one gets paper strips bonded and building within the same afternoon.
Frequently Asked Questions
Is paper mache better with glue or flour?
Flour paste is cheaper, non-toxic, and strong enough for most crafts, making it the better default for classrooms and one-off projects. White glue paste resists mold better and holds up longer, so it suits pieces meant to last for years or that will sit in humid rooms. Painted final projects rarely show a visible difference between the two.
Should I use cornstarch or flour for paper mache paste?
Flour is the standard choice because it’s cheap, widely available, and produces a reliable bond once mixed with water. Cornstarch can work in some no-flour recipes but isn’t part of the standard flour paper mache recipe covered here. Stick with all-purpose flour unless a specific recipe calls for a substitute.
Does salt prevent mold in flour paste?
Salt acts as a mild natural preservative and helps flour paste resist mold, especially in humid climates. A tablespoon per batch is the common amount added during mixing. It won’t make paste mold-proof indefinitely, so refrigeration and reasonably quick use still matter.
How long can I keep homemade paper mache paste?
Flour paste keeps in a sealed, airtight container in the refrigerator for a few days up to about a week, with salt helping extend that range slightly. Glue-based paste tends to thicken as it sits and is best used within a few days. Discard either one at the first sign of a sour smell or mold.
What makes a paper mache paste stronger?
Cooking flour paste on the stove or in the microwave releases the starch, producing a noticeably stronger bond than a raw, no-cook mixture. Switching to white glue instead of flour also increases strength and durability. Torn paper strips (rather than cut ones) and crisscrossed layering add structural strength beyond the paste itself.
