


Do you want to get started on bikerafting but are unsure of how to go about it? Here are some effective tips and tricks to guide you:
Pack as Light as Possible
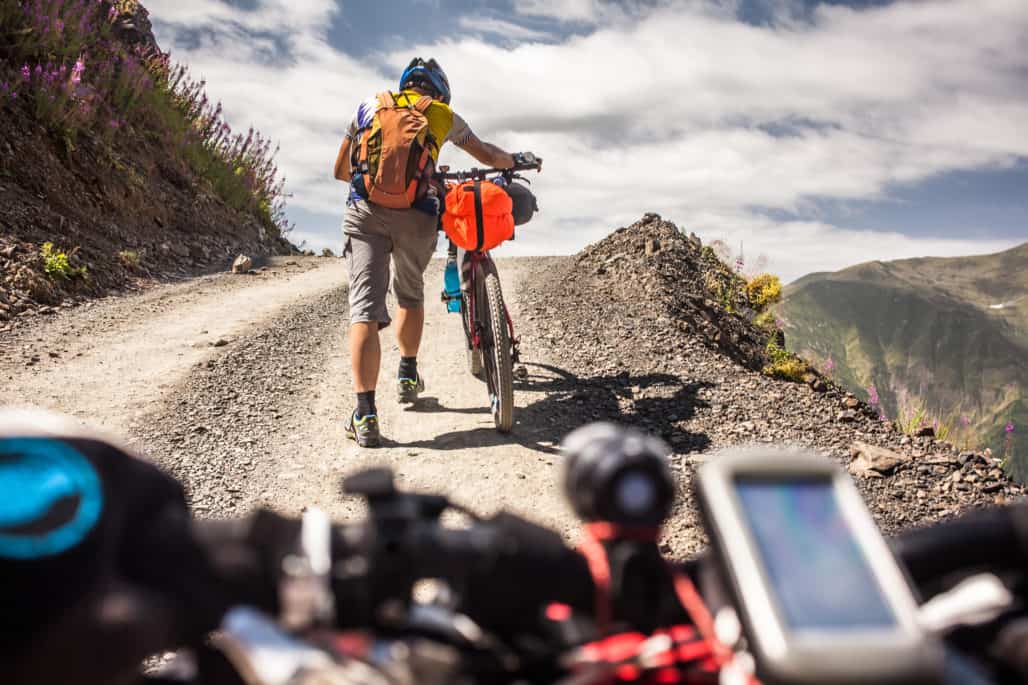
The packraft will take up some weight, usually 3 to 5 pounds, so you need to go for the lightest bikepacking setup. You can cut down the weight by sacrificing some comfort.
Reducing your clothes and carrying a water filtration system instead of many liters of water will help cut down the overall weight.
Ideally, your full bikepacking gear should be under 40 pounds for a comfortable ride on rough terrains and smooth paddling in the waters.
Keep in mind that most packrafts are designed to carry a weight capacity of about 200 to 300 pounds.
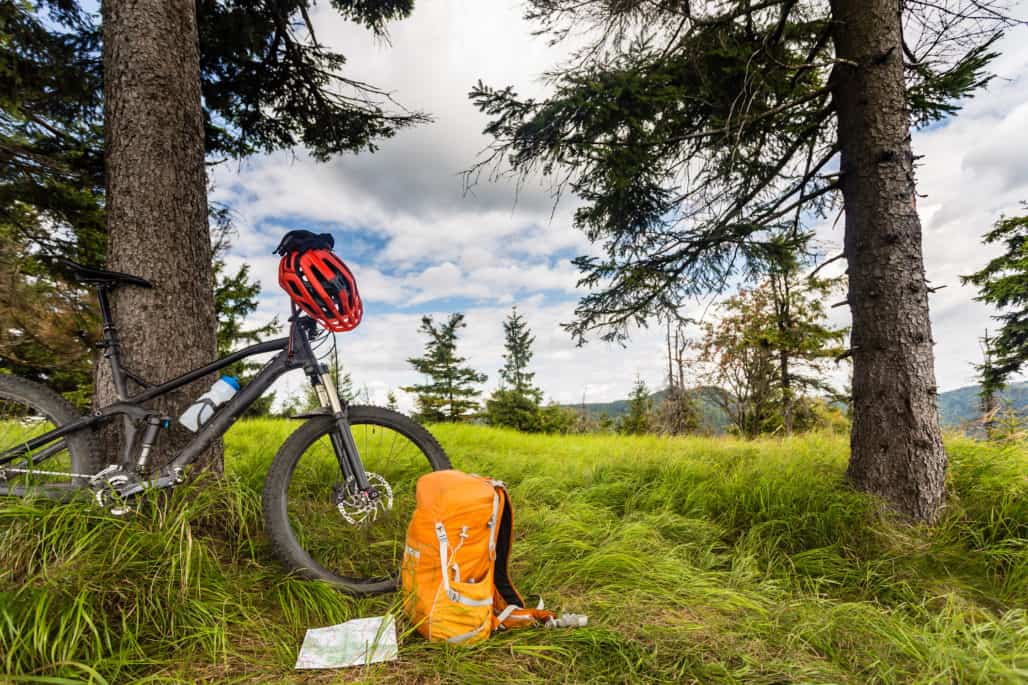
Invest in Waterproof Bags
If your current bikepacking bags are not waterproof, you need to invest in some dry bags for bikerafting. Revelate Designs offers some great deals when it comes to dry packs.
Waterproof bags will keep your essentials dry when rafting or when it rains while out there. Moreover, you won’t have to worry about your items getting wet when the raft turns down.
Once you buy the dry bags, try and test whether they are waterproof and know which items to pack in them.
Buy Some Good Wet Weather Clothing
When bikerafting, there are higher chances that you’ll get wet no matter how careful you are.
So, you need to buy and pack a good drysuit to keep you dry all the time. Neoprene socks and gloves will greatly add to your safety and comfort.
You’ll also need an adult PFD for maximum safety in case your raft capsizes. In this case, I prefer the closed-cell foam PFDs to inflatable ones.
Research on Your Destination and Plan Your Routes
The next thing you’ll want to do when preparing for an epic bikerafting adventure is researching your adventure location and planning your routes.
Find out if there are any hazards or risks in the location you intend to explore. You can get such information from the local authority environment updates.
Talking to other bikerafters or cyclist friends who have been in the area can also help you gather some useful information about your destination. You don’t want anything terrible surprising you while out there.
Test Your Mountain Biking and Rafting Gear before Heading Off
Before you head off to your epic bikerafting adventure, you need to test your cycling and packrafting gear to ensure that everything works as it should.
Testing your gear will help you understand how everything works. It will also allow you to master how to easily strap the bike and your whole bikepacking rig onto the boat.
If you are new to rafting, you need to practice paddling on a nearby river or any flat water body. You may also consider taking a whitewater safety course.
Get a Packable Paddle
Bikerafting packrafts often do not come with a paddle, so you need to buy them separately. And you don’t just buy a paddle.
A bikerafting paddle needs to be compact and packable for easy traveling. You’ll find so many great options out there that pack into small pieces.
I use the Werner Skagit 4-Piece 230cm Kayak Paddle, and it allows me to raft efficiently, even in the roughest rivers.
Don’t Forget a Repair Kit
Punctures and other bike issues are inevitable when riding on rough terrains. So you need to bring a repair kit for your bike to ensure that you can always mend it whenever punctures happen.
You also want to bring a repair kit for your packraft as it’s not bulletproof either. Packrafts are prone to punctures, especially when rafting on extremely rough waters.
With a puncture kit for both the bike and packraft, nothing will stop you, even when exploring the most remote areas.
Carry a Satellite Phone or Messenger

If you plan to do a very remote bikerafting adventure, it’s prudent to bring a satellite phone or messenger for communication.
A satellite phone can be a lifesaver whether you are exploring the mountains, desert, or the open ocean. It will help you send a rescue signal if you land into trouble and need some backup.
If you are not a frequent adventurer and don’t want to buy a satellite phone, you can opt to rent one for your bikerafting trip.
However, you’ll need to confirm whether there are satellite phone restrictions in the location you intend to explore as some countries like China and Bangladesh don’t allow these phones.
Finally, Read Some Wild Adventure Stories About Bikerafting
If you need more inspiration for bikerafting, watching some water adventure videos and reading wild adventure stories is a great way to learn more.
Bikerafting videos and stories like those of Roman Dial will inspire you to practice more and build your confidence in combining biking and rafting.
Roman Dial offers instructions with stunning color photographs that make it even more exciting to follow his guide on exploring the wilderness and whitewater.


My best picks are the Kokopelli Rogue Lite and Alpacka Classic Packrafts. Let’s take a closer look at each packraft:
Kokopelli Rogue Lite Packraft

Kokopelli never disappoints. They pay attention to what people are looking for to ensure that they make quality packrafts that suit varied customers’ needs.
And this is the case with their Rogue Lite Packraft for bikerafting that works well for both whitewater and lake rafting.
I chose this packraft because of its durable construction and great features. It inflates with a D7 Leafield one-way valve that prevents air from flowing back as you pump.
The Kokopelli Rogue Lite Packraft features a nice twist cover that doesn’t get in your way as you paddle. Its spring valve is also well-built to prevent air from coming out when rafting.
I also loved how the seams of this packraft are sown then taped to cut down the overall weight for a smooth and enjoyable rafting experience.
The package comes with four tie-downs that are great lifesavers when the boat turns down.
One more cool thing about the Kokopelli Rogue Lite is its floor design that doesn’t sag below the water, keeping your bottom safe. You won’t feel it on your butt or feet when the boat rides over rocks.
Its urethane coating makes it thicker and sturdy enough to withstand any bikerafting abrasions.
Weighing about 4 pounds, Rogue Lite is a lightweight packraft that fits well in most handlebar packs.
And once you buy this packraft, you get a patch kit and repair glue for easy maintenance and repairs while out there.
A magical inflation bag allows you to fill the packraft without having to use a pump.
Alpacka Raft Classic

The Alpacka Raft Classic is a high-quality boat that comes in three different sizes. The medium (Yak) and Large (Llama) are the best ones for bikerafting as they provide adequate space for a bike.
It comes in four color options, including Cedar Green, Sierra Red, Fireweed, and Forget-Me-Not.
Manufactured in Mancos, Colorado, the Alpacka Raft is designed to be a tough boat for use on various adventures.
What’s more impressive about this packraft is that it’s light enough to fit in small packs, and it won’t let you down when rafting in rocky rivers.
It comes with minimalistic attachments to make it simple and cut down the weight for easy attachment to the bikepacking bike.
Want some extra features? No worries! You can add strap plates, D-rigs, and handles to improve performance.
Alpacka allows you to choose from several configurations, including an open cruiser deck, self-bailing, whitewater deck, and removable whitewater deck.
I usually prefer bikerafting with this packraft over others due to its compact design and the two extra stern grab loops to easily grab the boat.
If you want to get started in bikerafting and are wondering which packraft to buy, feel free to invest in any of these rafts.

The best way to strap your bike into the boat will depend on several factors, including your bikerafting style and the type of water you are rafting on.
Here is how to lash your bike to your packraft for a long crossing:
Step 1: Get Your Bicycle and Straps Ready
- If your packraft has standard grab loops, attach the straps to the sharp end before putting the bike on.
- Remove the non-drive side pedal if you have a pedal wrench. Leave the drive side pedal into the bike as it stays up in the air.
- If you don’t want to take the non-drive side pedal off, you can wrap it with socks or a towel to avoid puncturing the raft. But you need to do it perfectly. Otherwise, I recommend that you take it off for extra safety.
- Put the pedals into your frame bag and make sure there are no valuable items that may be ruined by water in this pack.
Step 2: Remove the Front Wheel
- Take off the front wheel and keep the axles in the frame or re-install them on the fork after removing the wheel.
- While most bikerafters will skip this, I usually remove the back wheel, especially when I don’t have a rack mounted on the rear. I only skip it when doing short crossings.
Step 3: Lash the Bike to the Boat, Leaving More Room for Efficient Paddle Stroke
- Place your bike on the front side of the boat and adjust it well before strapping it down. Voile straps are the best in this case.
- Stack the wheel(s) on the bike and ensure that they are well balanced on a good foundation. Again, ensure that the weight distribution is right to increase control and stability.
- If you didn’t remove the back wheel, mount a seat post bag or frame bag on the front side of the bike to counterweight the heavy rear.
- Put some dry bags or your backpack in the back of your boat to avoid flipping and prevent wind from blowing the raft.
Step 4: Pack Your Gear on the Raft
- Once you strap the bike frame and wheels, it’s time to get your other gear on the boat, from sleeping bag to cooking gear.
- If you are on a multi-day bikerafting adventure and have large packs, you don’t want to mount them on the bike as they will make it hard to see.
- The best way to pack them is by putting them in the boat or sitting on them. Using them as a backrest also makes sense.
Now, you may be wondering whether your bike will puncture the inflated packraft as you paddle.
The truth is that it depends on how you strap your bike
Frayed cable ends and cut-off ends of zip ties can easily puncture your boat. So you need to be more careful when working with them.
Your bike pedals can also puncture the packraft, especially if they have spikes. You can use a pad to cushion such pedals and avoid punctures.

