
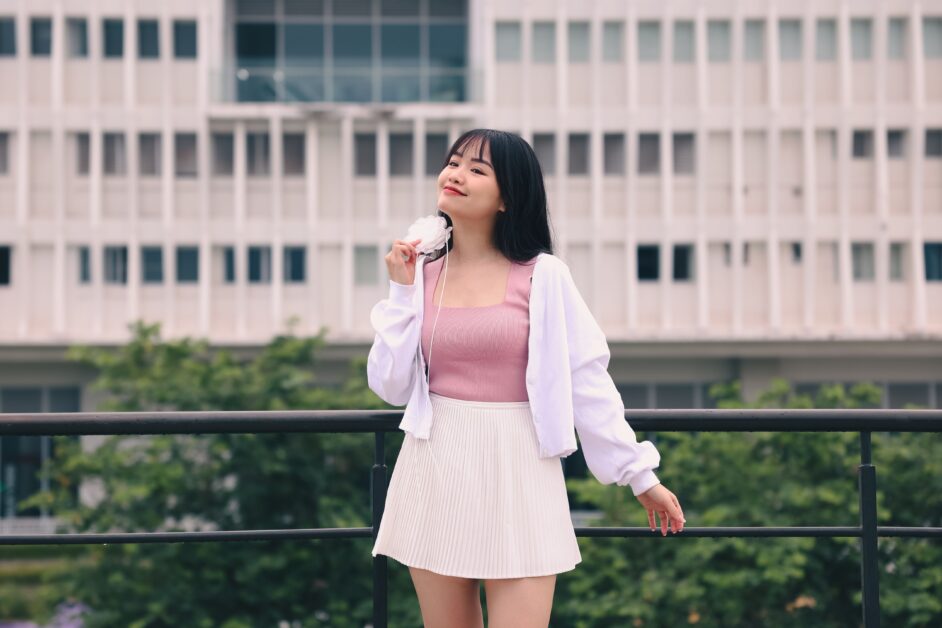
A pleated skirt with a stretchy waist is one of the friendliest first garments you can sew, because the elastic forgives small sizing mistakes that would sink a zippered skirt. If you can sew a straight line and press a seam, you have the skills to finish this project in a weekend. We’ve broken the whole process down into measuring, cutting, pleating, and sewing, with a worked example so the math never feels like a guess.
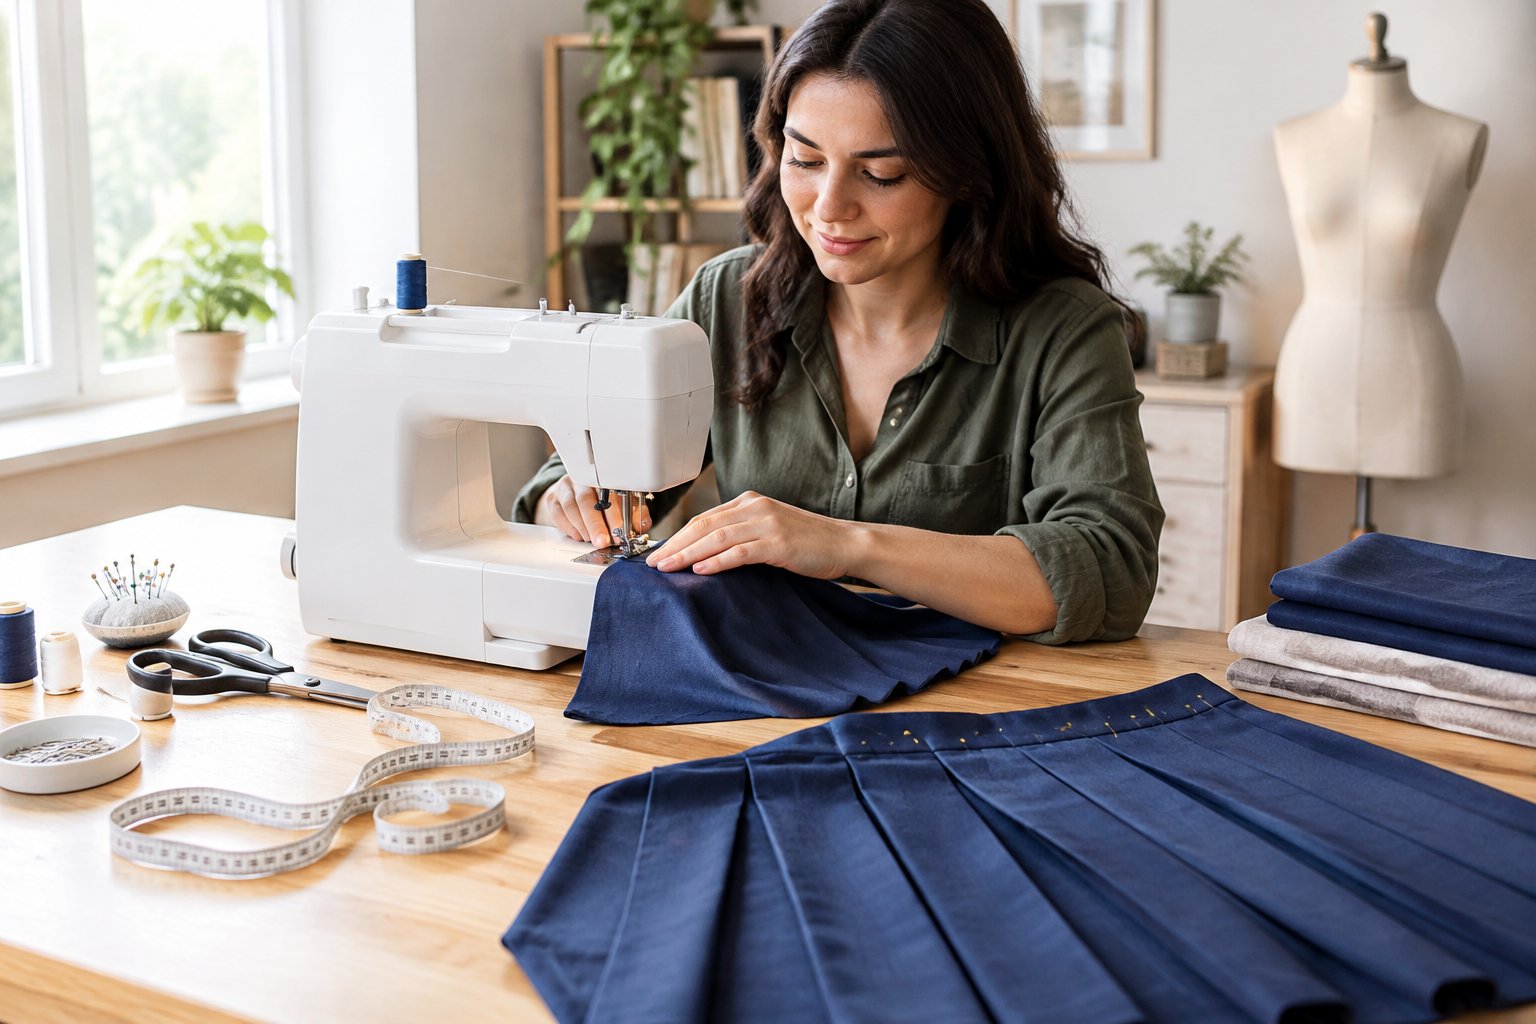
Knife pleats (where every fold faces the same direction) give you that classic schoolgirl-skirt silhouette, and an elastic waistband means you skip the zipper entirely. This guide walks a true beginner through a basic rectangle-pleat skirt using a sewing machine, with a hand-sewing path included for anyone without one. By the end you’ll know how to measure your body, calculate fabric width, mark even pleats, and sew a waistband casing that actually fits over your hips.
What Do You Need to Measure and Prepare?
Before cutting a single piece of woven fabric, gather your supplies and take three measurements: waist, hips, and skirt length. Getting these numbers right now saves you from unpicking pleats later.
Tick-Off Supplies List: Shared, Machine-Sewing, and Hand-Sewing Items
Shared supplies (needed no matter how you sew):
- Woven fabric (cotton, linen, or light wool hold pleats best)
- Measuring tape
- Fabric scissors or a rotary cutter
- Tailor’s chalk or a fabric marking pen
- Flat, non-roll elastic (3/4″ to 1″ wide)
- Iron and ironing board
- Pins
Machine-sewing extras:
- Sewing machine with a straight and zigzag stitch
- Matching all-purpose thread
- A new universal needle
Hand-sewing extras:
- Hand-sewing needles (sharps, size 7-9)
- Thimble
- Extra thread, since hand basting uses more
You don’t need a store-bought sewing pattern for this project. A free sewing pattern or a pleated skirt pattern can help if you want a more fitted shape, but an easy pleated skirt pattern made from simple rectangles works just as well for a first attempt.
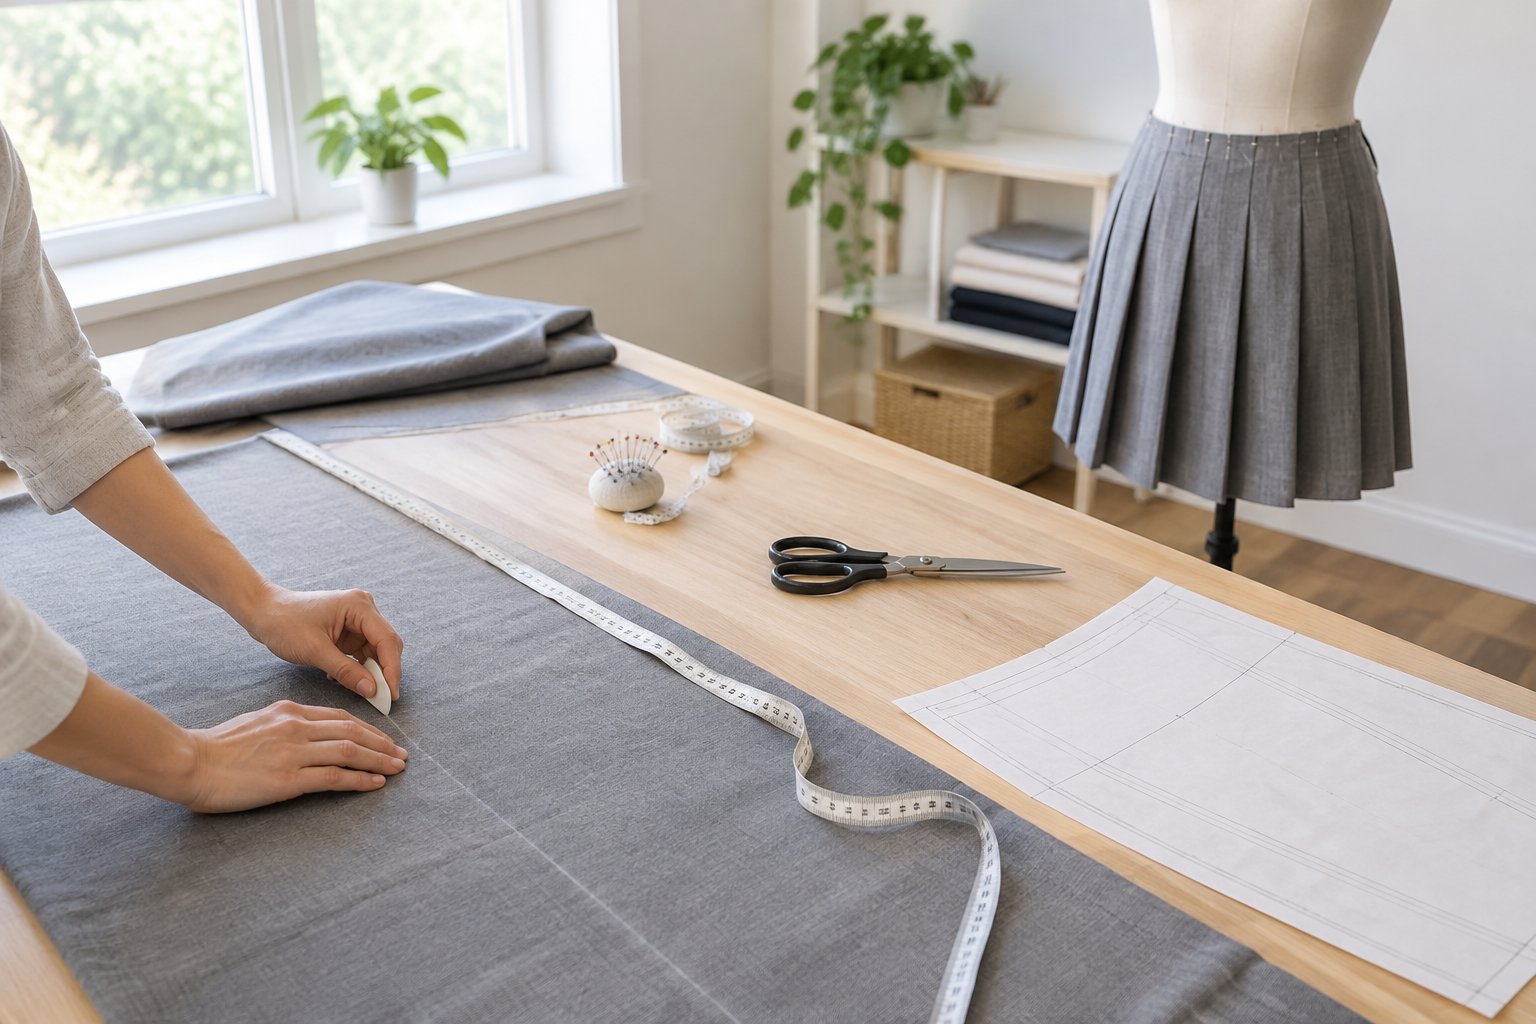
Measure Your Waist, Hips, and Skirt Length
Wrap the tape around your natural waistline (where your torso bends side to side) and note the number without pulling it tight. Then measure around the fullest part of your hips, usually 7-9 inches below the waist. Finally, measure from where the waistband will sit down to wherever you want the hem to end.
Check That the Skirt and Waistband Will Pass Over Your Hips
The unstretched waistband opening has to be wider than your hip measurement, or the finished skirt won’t go on. Before cutting elastic, stretch it around your hips (not just your waist) and confirm it slides over comfortably. This single check prevents the most common beginner mistake in elastic-waist sewing.
Worked Example: Calculate Fabric Width and Even Pleat Markings
Here’s a hypothetical set of measurements to show the math in action.
Sample body measurements: Waist 28″, Hips 38″, Skirt length 20″
Step 1: Set your pleat depth. Pleat depth is how deep each fold is once pressed flat. We’ll use a 1″ pleat depth for this example.
Step 2: Apply the knife-pleat formula. Each pleat needs three times its finished width in fabric (one layer showing, two layers folded underneath). A 1″ pleat needs 3″ of fabric.
Step 3: Decide on pleat count. Let’s use 12 pleats around the skirt.
Step 4: Calculate total fabric width. 12 pleats × 3″ of fabric each = 36″. Add 1″ total for two side seam allowances (1/2″ each) = 37″ of fabric width needed.
Step 5: Check the hip-fit requirement. The finished pleated width (12 pleats × 1″ visible depth = 12″, which isn’t how skirt circumference works alone, so check the flat fabric width instead) comes to 37″, comfortably more than the 38″ hip measurement when the pleats release slightly while walking and the elastic stretches. If your flat-cut width lands under your hip measurement, add more pleats or deepen the seam allowance.
Step 6: Mark even pleats. Divide the 37″ width by 12 pleats = roughly 3.08″ between each pleat marking. Use chalk to mark every 3″ across the fabric, starting 1/2″ in from the raw edge for your seam allowance.
Step 7: Set cutting length. Add a 1″ waistband casing allowance, a 1″ hem allowance, and your 20″ skirt length = 22″ total cut length.
Sew the Knife-Pleated Skirt
This is the core sewing tutorial: four stages take you from flat fabric to a finished skirt with crisp knife pleats, a working elastic waistband, and a clean hem.
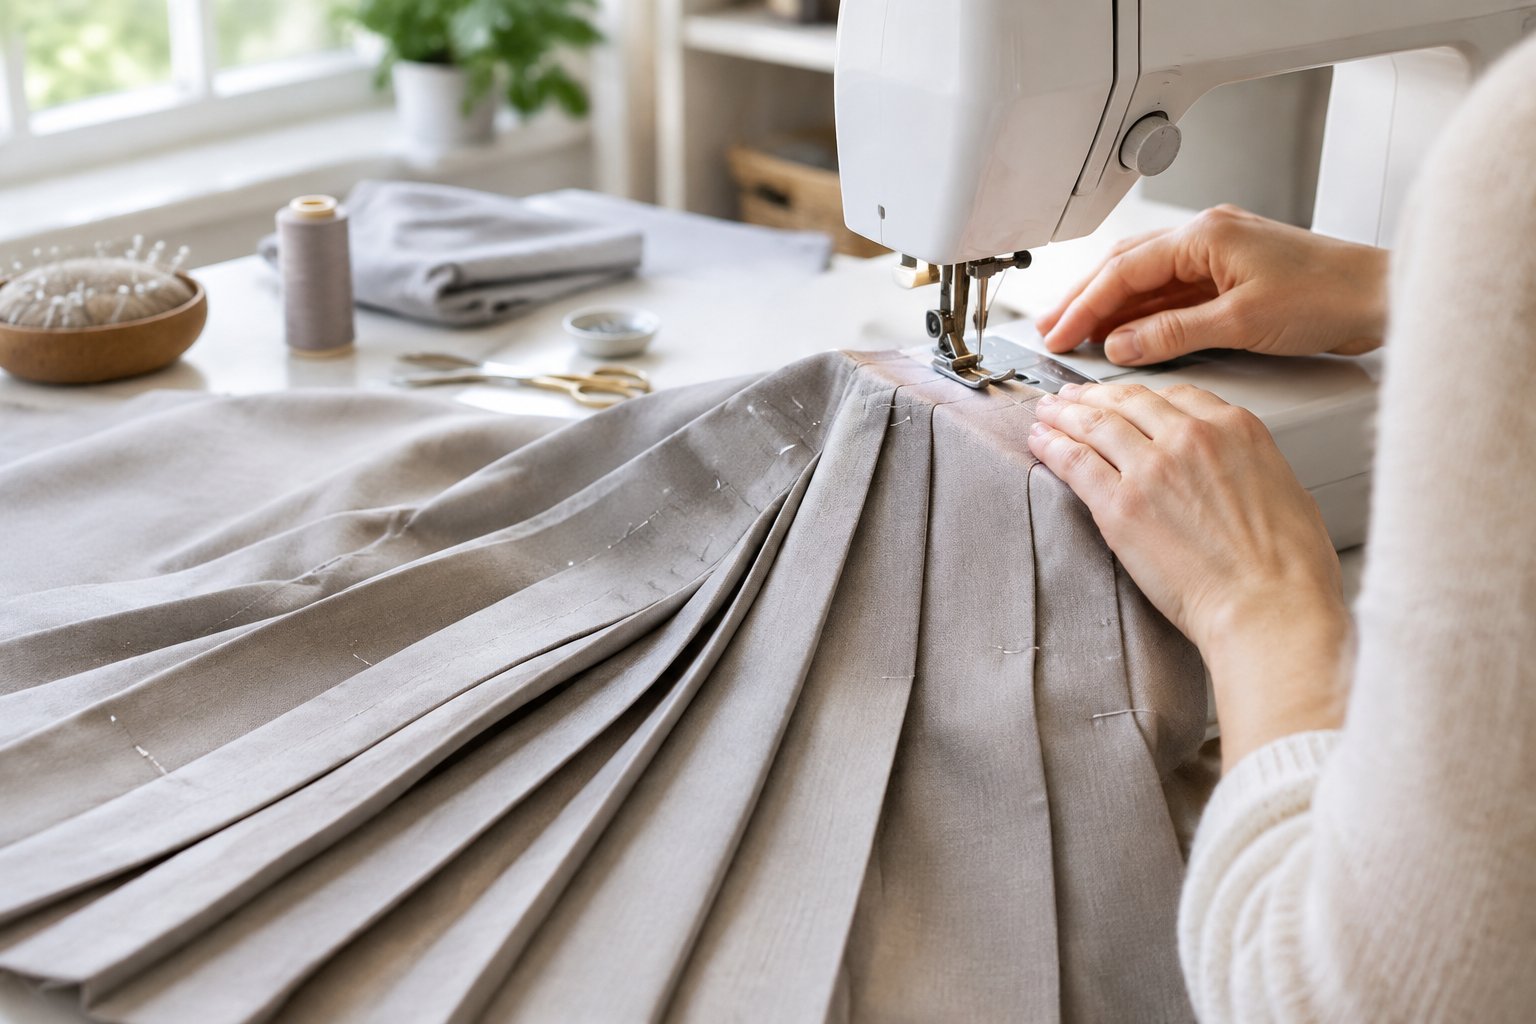
1. Check the Measurements, Then Cut and Mark the Fabric
Lay your fabric flat with the wrong side facing up (the wrong side is the back of the fabric, the side that won’t show once the skirt is worn; the right side is the printed or finished face that faces outward).
- Cut one rectangle using your calculated width and length.
- Mark a seam allowance (the extra fabric between the cut edge and the stitching line, usually 1/2″) along both short ends.
- Mark your pleat lines using chalk, spacing them evenly across the top edge.
- Checkpoint: lay the tape measure across your markings and confirm the total matches your calculated fabric width before cutting a second piece or moving on.
2. Fold, Press, and Baste the Pleats
Fold the fabric along each marked line, bringing one line to meet the next so the folds all face the same direction (this is what makes them knife pleats rather than box pleats).
- Pin each pleat in place.
- Baste (long, loose, removable stitches) across the top edge, 1/4″ from the raw edge, to hold the pleats before permanent stitching.
- Press each pleat flat from the top edge down, removing pins as you go.
- Checkpoint: measure the pleated section end to end and confirm it’s close to your waist-plus-ease measurement before stitching permanently.
3. Sew the Waistband and Insert the Elastic
Cut a waistband strip as long as your pleated top edge plus seam allowance, and about 3″ tall (enough to fold over and stitch into a casing).
- Sew the short ends of the waistband strip together, right sides facing, to form a loop.
- Pin the waistband to the top of the pleated skirt, right sides together, and stitch around.
- Fold the waistband up and over to the wrong side, pressing a casing, leaving a small gap unstitched.
- Thread the elastic through the casing using a safety pin, checking it isn’t twisted, then stitch the ends of the elastic together and close the gap.
4. Close the Seam, Check the Fit, and Hem the Skirt
Fold the skirt right sides together and stitch the remaining side seam closed, catching the waistband seam for a clean finish.
- Try the skirt on, checking it passes over your hips and sits comfortably at the waist.
- Turn the hem up twice (about 1/2″ each fold) and press.
- Stitch the hem in place close to the folded edge.
- Press the whole skirt once more, pushing the iron along each pleat from waist to hem for a crisp line.
Try a Different Pleat or Sewing Method
Knife pleats aren’t the only option, and a sewing machine isn’t a requirement either. Box pleats change the fold direction and fabric math, hand sewing works for every stage with a bit more patience, and some skirt styles do better with a fitted yoke and zipper instead of elastic.
Box-Pleat Variation: Recalculate the Width and Fold Markings
Box pleats fold in two directions, away from each other at the center, rather than all facing the same way like knife pleats. Each box pleat needs four times its finished width in fabric instead of three, since two folds meet underneath rather than one.
For a 1″ box pleat, plan on 4″ of fabric per pleat. Using our worked example’s 12 pleats, that’s 48″ of fabric plus seam allowances, a noticeably wider cut than the knife-pleat version. Mark the center of each pleat first, then measure outward in both directions so the folds meet symmetrically.
Hand-Sewing Alternative: Stitches, Reinforcement, and Thick Layers
A backstitch gives hand-sewn seams the strength a machine straight stitch provides, since each stitch loops back on itself. Use it for the side seam and for attaching the waistband.
Reinforce stress points, like where the pleats meet the waistband seam, with two or three extra backstitches stacked on top of each other. Pleated areas stack multiple fabric layers, so push the needle through slowly and consider a thimble; thick wool or several layers of cotton can be genuinely tough to stitch through by hand, and a shorter, sturdier needle helps more than a long one.
When Does a Fitted Yoke or Zipper Make More Sense?
A front yoke and back yoke with an invisible zipper suit skirts meant to sit smooth and fitted at the waist rather than gathered under elastic. Yokes (fitted panels at the top of the skirt, often interfaced with fusible interfacing for structure) work well when you want a tailored look without any waistband bulk. If your project calls for this route instead of elastic, the approach to shaping a yoke and attaching a zipper overlaps with the techniques used in our guide to making a wrap skirt in simple steps, where a fitted waist finish is also part of the construction.
What Should You Fix Before Cutting or After Sewing?
Most pleated-skirt problems fall into two categories: fit issues you can catch with fabric still flat on the table, and finishing issues you only notice once the skirt is sewn.
Before Cutting: Hip Clearance, Pulling at the Hips, and Fabric Bulk
Skirt won’t pass over hips: this has to be solved before cutting. Compare your flat-cut fabric width against your hip measurement plus the elastic’s stretch; if the width is too narrow, add pleats or widen each one.
Pulling or straining at the hips: usually means too few pleats were planned for your hip measurement. Add 1-2 inches of ease to the hip calculation before marking pleat lines.
Bulky fabric at the waistband: heavier fabrics (like wool) need wider, fewer pleats rather than many narrow ones, since each fold adds thickness exactly where the waistband casing has to fold over and stitch.
After Sewing: A Tight or Loose Waist and Twisted Elastic
Waist too tight: open the small gap left in the waistband casing, pull more elastic through, and re-stitch the ends.
Waist too loose: open the same gap, pull the elastic tighter, trim the excess, and re-stitch.
Twisted elastic: flatten the waistband casing and check the elastic lies smooth before closing the gap; a twist usually shows as a visible ridge once worn.
After Sewing: Uneven or Gaping Pleats, an Uneven Hem, and Lost Creases
Uneven or gaping pleats: re-press each one from the top down, using a ruler to confirm consistent width at the top, middle, and bottom of each fold.
Uneven hem: try the skirt on and mark a level line with chalk at a consistent distance from the floor, then trim and re-fold before stitching.
Pleats losing their crisp edge over time: press again using a damp press cloth and firm pressure. Synthetic fabrics resist a sharp pleat crease permanently, so cotton, linen, or wool hold their shape far longer through washing and wear.
A Skirt That Fits and Keeps Its Pleats
A well-measured pleated skirt comes down to three checkpoints done in order: confirming hip clearance before cutting, basting pleats before permanent stitching, and trying the skirt on before hemming. Each one catches a different kind of mistake, and skipping any of them is usually where a first attempt goes sideways.
Knife pleats give a classic, crisp result, and the elastic waistband means the fit stays forgiving even if your measurements are slightly off. Once this method feels comfortable, box pleats, hand-finished seams, and fitted yokes are all variations on the same core skills. If this is your first time holding a sewing machine at all, it’s worth pairing this project with our beginner’s guide to sewing to build confidence with the basics first.
Frequently Asked Questions
Can I sew a pleated skirt without a pattern?
Yes, a basic knife-pleated skirt with an elastic waistband can be made from rectangles cut to your own measurements, no printed pattern required. You’ll need your waist, hip, and length measurements along with the pleat-width formula to calculate fabric size. A pattern becomes more useful for fitted yokes or shaped waistbands.
How much fabric do I need for a pleated skirt?
Plan on roughly three times your waist measurement in fabric width for knife pleats, since each pleat uses three layers of fabric. For a 28″ waist with 1″ pleats, that works out to around 37-40″ of fabric width once seam allowances are added, plus your skirt length plus hem and waistband allowances.
How do I make an elastic waistband that fits over my hips?
Cut the waistband casing long enough to match your pleated skirt’s top edge, then thread elastic through that’s been measured around your hips while stretched, not your waist alone. Always test-stretch the elastic over your hips before stitching the ends together to confirm the opening is wide enough.
What is the best way to sew pleats evenly?
Mark every pleat line with chalk using consistent spacing calculated in advance, then pin, baste, and press each pleat before any permanent stitching. Measuring each pleat’s width at the top, middle, and bottom with a ruler while pinning catches uneven folds before they’re sewn in place.
Can I sew a pleated skirt entirely by hand?
Yes, using a sturdy backstitch for seams and the waistband, with reinforcement stitches at the points where the pleats meet the waistband. Hand sewing through multiple pleat layers takes patience, especially in heavier fabrics, so lighter cottons or linens are easier to manage for a first hand-sewn project.
