
Paper mache animals are one of the friendliest crafts a family can try together, and a turtle is the easiest shape to start with. The rounded shell and stubby legs forgive wobbly first attempts, so a lopsided shell still looks like a turtle at the end. Newspaper, a simple paste, and a few hours of drying time are really all a paper mache project needs to turn into something a kid can proudly set on a shelf.
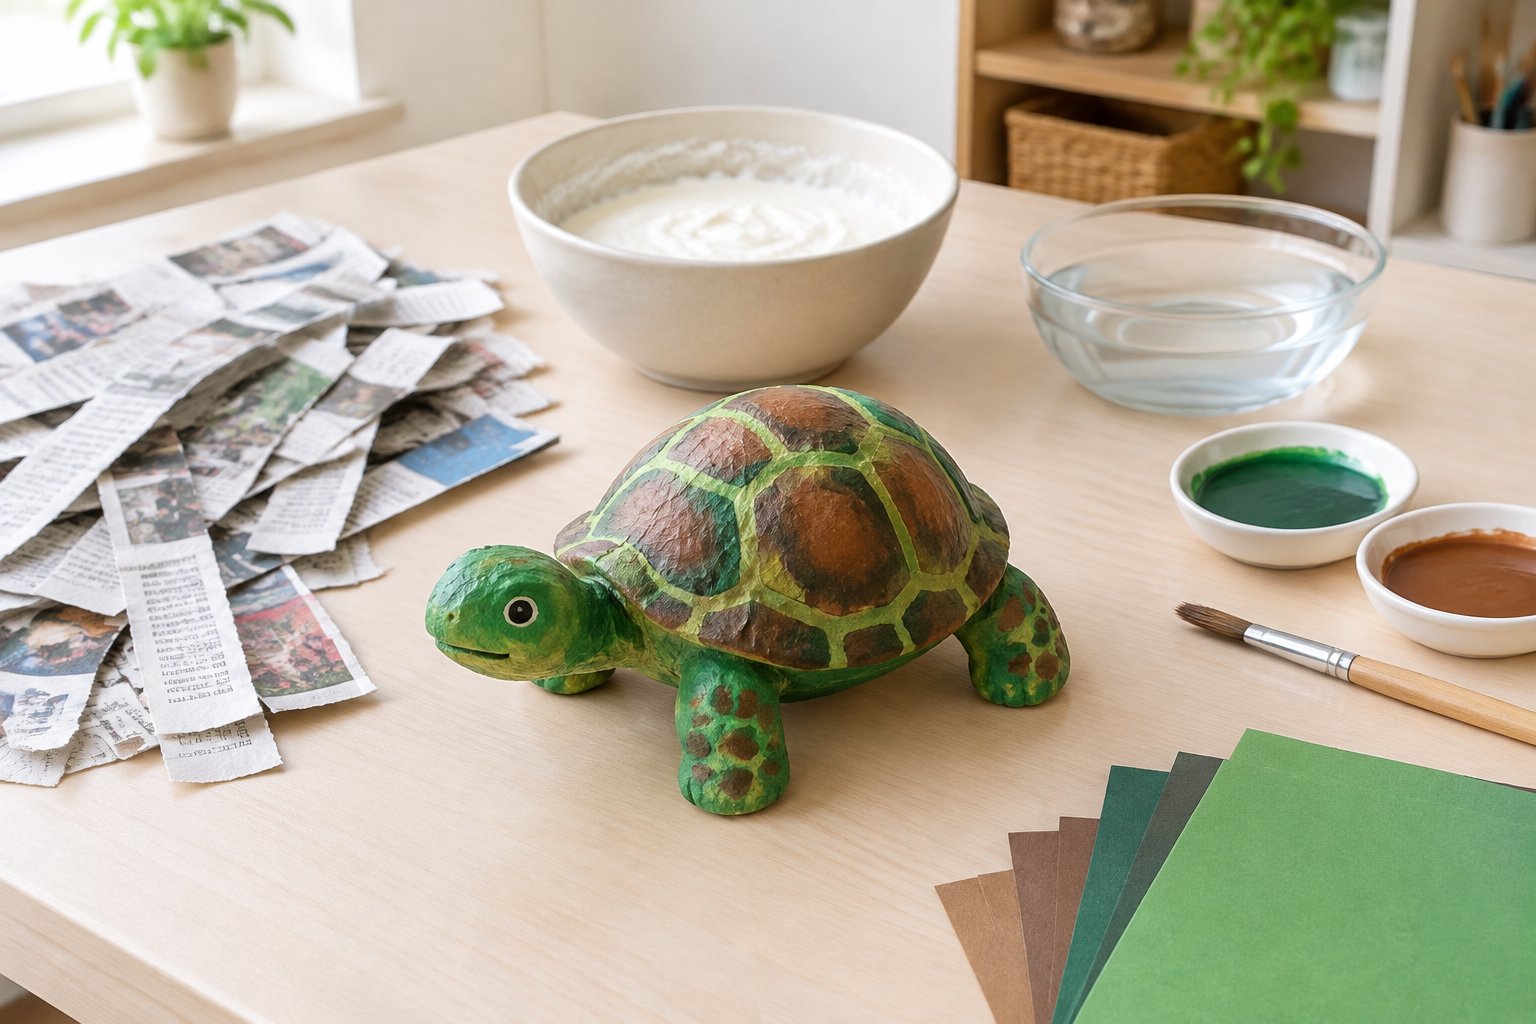
A paper mache turtle comes together fastest with crumpled newspaper or scrap printer paper for the body, torn paper strips for the layers, and a paste made from either flour and water or white glue and water. Clean cereal-box cardboard or an egg carton can add a shell shape or feet if a child wants extra texture, but neither is required. Pick whichever combination is already sitting in the recycling bin.
What Do You Need to Make a Paper Mache Turtle?
A finished turtle needs three basic things: a shape to build on, strips to cover it, and paste to hold everything together. None of it requires a trip to the craft store, which is part of what makes this such an approachable papier mâché project for a first attempt.
Choose from Recycled Paper and Cardboard
Crumpled newspaper or balled-up printer paper forms the turtle’s body and makes a soft, forgiving base a child can squeeze into shape by hand. Clean cereal-box cardboard works well for a flat shell piece or simple feet, cut by an adult ahead of time. An egg carton cup makes a quick rounded shell if cardboard is not on hand. Readers do not need all three. Picking one body material and one shell option is enough to get started.
Mix a Simple Flour or Glue Paste
A basic flour paste comes from whisking 1 cup of flour into 2 cups of cool water until it feels like thin pancake batter, with a spoonful of salt stirred in to keep it fresh while it dries. A glue paste uses 1 part white glue to 1 part water instead, which dries clear and skips the wheat if anyone in the house has a food allergy. Neither paste needs heating. An adult can mix either one in a shallow bowl in under five minutes, and kids can dip and wipe their own strips once it is ready.
Shape the Turtle
Building a paper mache animal sculpture starts with a soft paper base, not a hard mold, which keeps this project safe for small hands. The turtle’s shape comes from crumpling, taping, and pressing rather than cutting or wiring, so kids can do most of the shaping themselves once an adult has prepped the pieces.
1. Shape the Body and Shell
Crumple a double handful of newspaper into an oval about the size of a small grapefruit for the turtle’s body. Flatten the top slightly so a shell piece has somewhere to sit, then wrap the oval in masking tape to hold its shape. If using cardboard or an egg carton for the shell, set that piece aside for now; it gets attached in the next step.
2. Attach the Head and Legs
Roll four small lumps of newspaper into stubby cylinders for legs, plus a slightly longer one for the head and neck. Tape each lump directly onto the body, pressing the tape flat so nothing wobbles loose. Kids can shape these pieces themselves; an adult should check that the tape is secure before moving on.
3. Secure Any Loose Pieces
Wrap a few extra strips of masking tape around any leg or head that still shifts when you touch it. A turtle that feels solid now will hold its shape far better under wet paper mache paste later. This is the moment to fix wobbles, since once the paste layers go on, reshaping gets much harder.
Cover the Turtle and Let It Dry
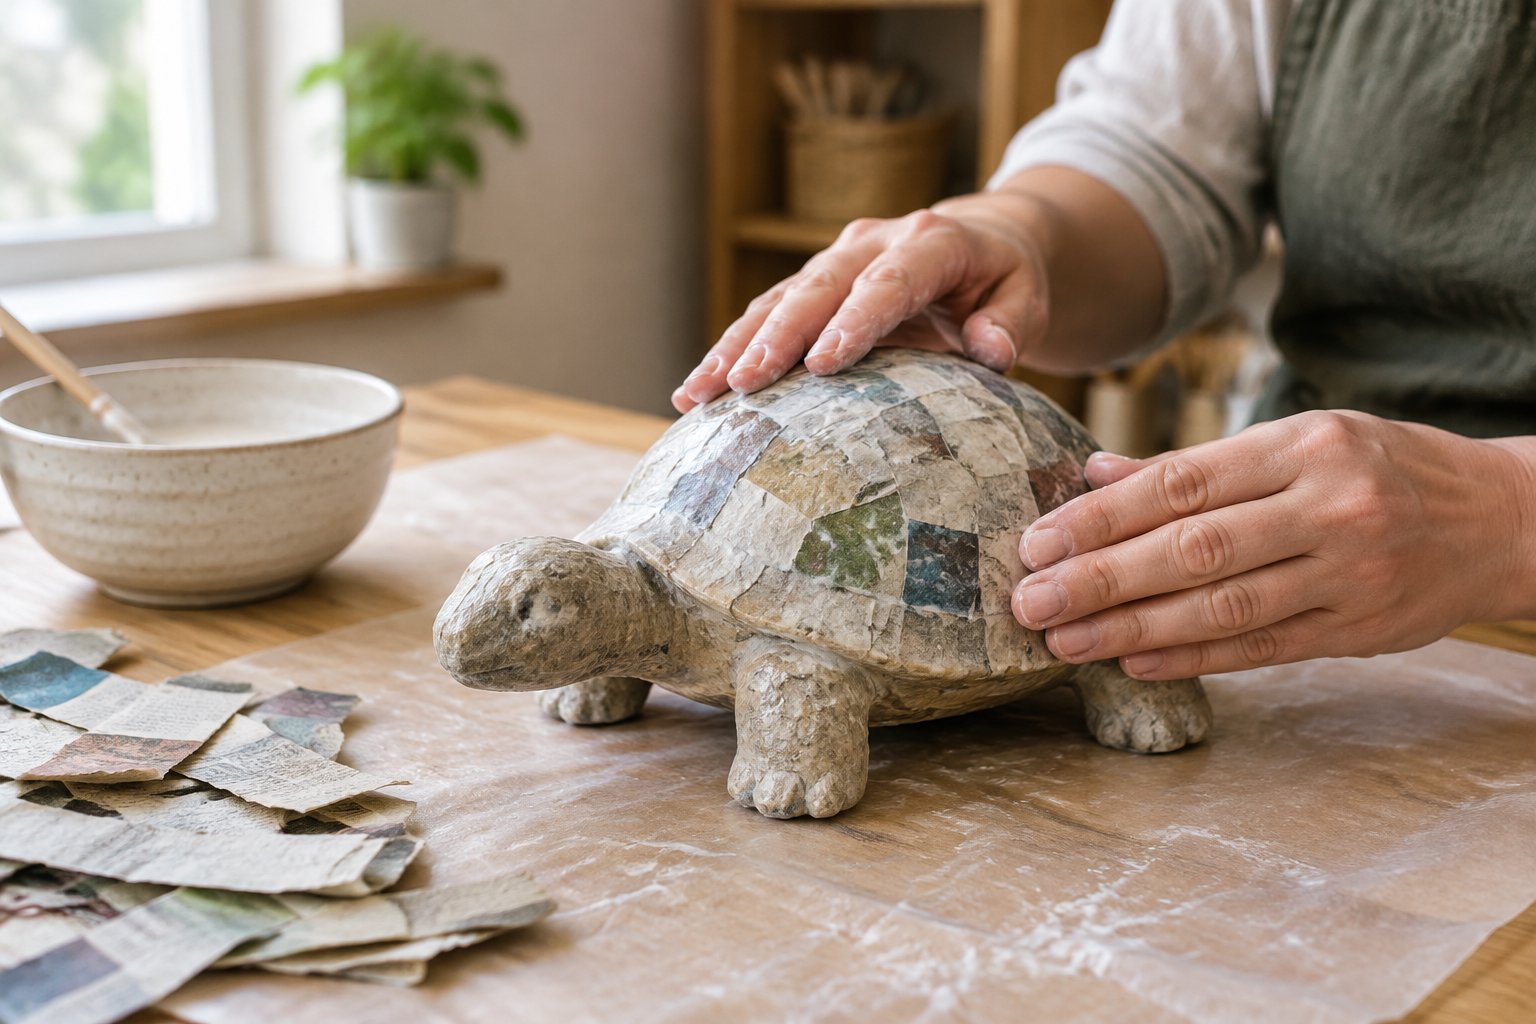
Covering the taped turtle in paper mache paste is where the shape becomes permanent, and it is the messiest part of the whole project, so this is a good stage for an apron and a covered table. Learning how to make paper mache really comes down to repeating the same small motion: dip, wipe, smooth, repeat.
4. Apply Paper Strips in Thin Layers
Tear scrap paper into strips about 1 to 2 inches wide, dip each one in paste, and wipe off the extra with your fingers before smoothing it onto the turtle. Cover the whole turtle in one layer first, overlapping strips slightly as you go. Two to three layers give this small paper mache sculpture enough strength to handle gentle play once it is dry.
5. Let the Turtle Dry
Set the turtle somewhere warm and out of the way, like a windowsill or a shelf away from foot traffic, and leave it undisturbed. Drying a small turtle like this takes patience more than precision; a thin layer in a dry room will firm up faster than a thick, damp one. Check back the next day rather than guessing at an exact hour.
6. Check That It Is Dry All the Way Through
Press gently on the shell and legs. If the surface feels cool or slightly soft anywhere, paste is still trapped underneath and the turtle needs more drying time. A fully dry turtle feels hard and light, with no give when you press it.
What If the Layers Slip or Feel Too Wet?
A strip that slides out of place can simply be lifted off and reapplied with a bit less paste. If a whole layer feels soggy the next day, leave the turtle out longer rather than adding more paper on top of wet strips. Thin layers with less paste always dry more reliably than thick, heavily soaked ones.
Decorate the Dry Turtle
Painting is the reward step, and a dry turtle is sturdy enough for kids to handle and paint almost entirely on their own. An adult’s job here is mostly supervising brushes, water cups, and cleanup rather than directing the artwork.
7. Paint the Turtle
Acrylic paint covers newsprint well and dries quickly between coats. Paint the shell one color and the head, legs, and tail a second color, letting the first coat dry before adding a second thin one for solid coverage. Light colors like white or yellow may need a third coat to hide the newspaper underneath.
8. Add Simple Shell and Face Details
Once the base coat is dry, a thin brush can add simple shell patterns, like circles or a crosshatch, in a contrasting color. Dot on two eyes with the end of a paintbrush handle dipped in paint. These small details are where a plain painted shape turns into a turtle with real personality.
A Finished Turtle Made from Everyday Materials
A paper mache turtle built from crumpled newspaper, torn strips, and a simple paste turns household recycling into a sturdy little animal sculpture in a couple of craft sessions. The same shaping, layering, and drying steps used here work for other paper mache animals too, whether the next project is a fox, a fish, or something invented entirely by the crafter. Readers who enjoy shaping paper by hand might also like exploring origami, quilling, and other paper toys as a lower-mess follow-up project. And for families whose turtle craft sparks real curiosity about live turtles, setting up an actual turtle tank is a natural next step once the glue and paint have dried.
Frequently Asked Questions
Can kids make this turtle without cardboard?
Yes, the entire turtle, including the shell, can be built from crumpled newspaper or printer paper alone. Cardboard or an egg carton just adds a slightly different texture to the shell; neither is necessary for the turtle to hold its shape.
Is glue or flour better for this turtle?
Both work well for a project this size. Flour paste is cheaper and just as sturdy, while a glue-and-water paste dries clear and avoids wheat, which matters if anyone helping has a flour allergy.
How many layers does a paper mache turtle need?
Two to three layers of paper strips give a small turtle like this enough strength for gentle handling and play. Adding more layers makes the shell heavier without adding much extra durability for a project this size.
How can I tell when the turtle is completely dry?
Press on the shell and legs; a fully dry turtle feels hard and light, with no cool or soft spots underneath. If any part still feels slightly damp or gives under light pressure, it needs more time in a warm, dry spot.
What should I do if the shell gets soggy?
Set the turtle somewhere warm and dry and leave it alone rather than adding more paper strips on top of the wet spot. A soggy shell almost always means too much paste was used on that layer, so wipe strips more thoroughly before applying them next time.
